Lost in a Fog
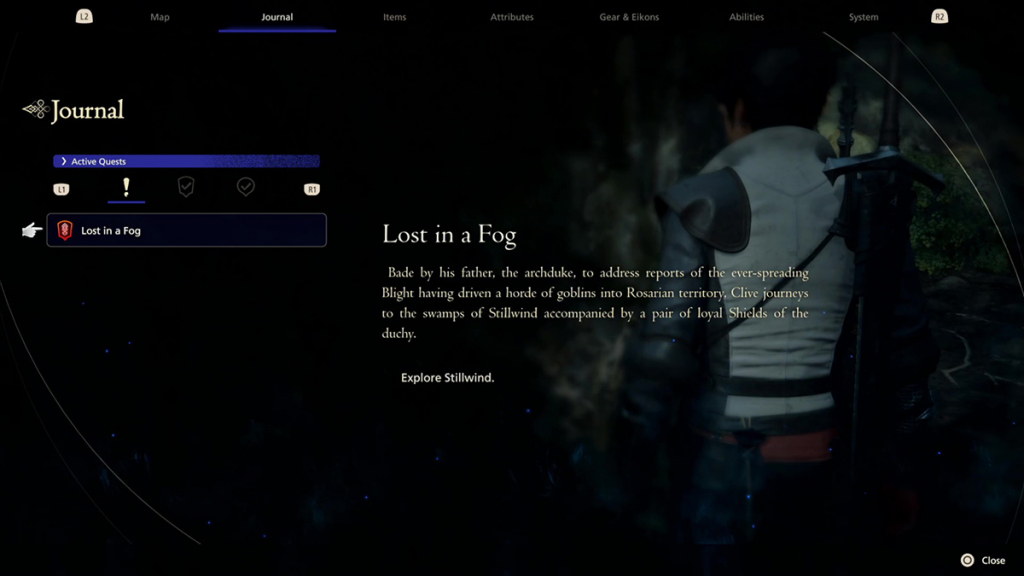
In this Final Fantasy XVI walkthrough, we'll explain the full path of the "Lost in a Fog" quest from the Prologue.
During the cinematic, Wade and Tyler will accompany you on your mission. You'll also be introduced to the Timely Accessories that automate actions. These accessories are not mandatory, but will make the game easier if you're interested in story mode.

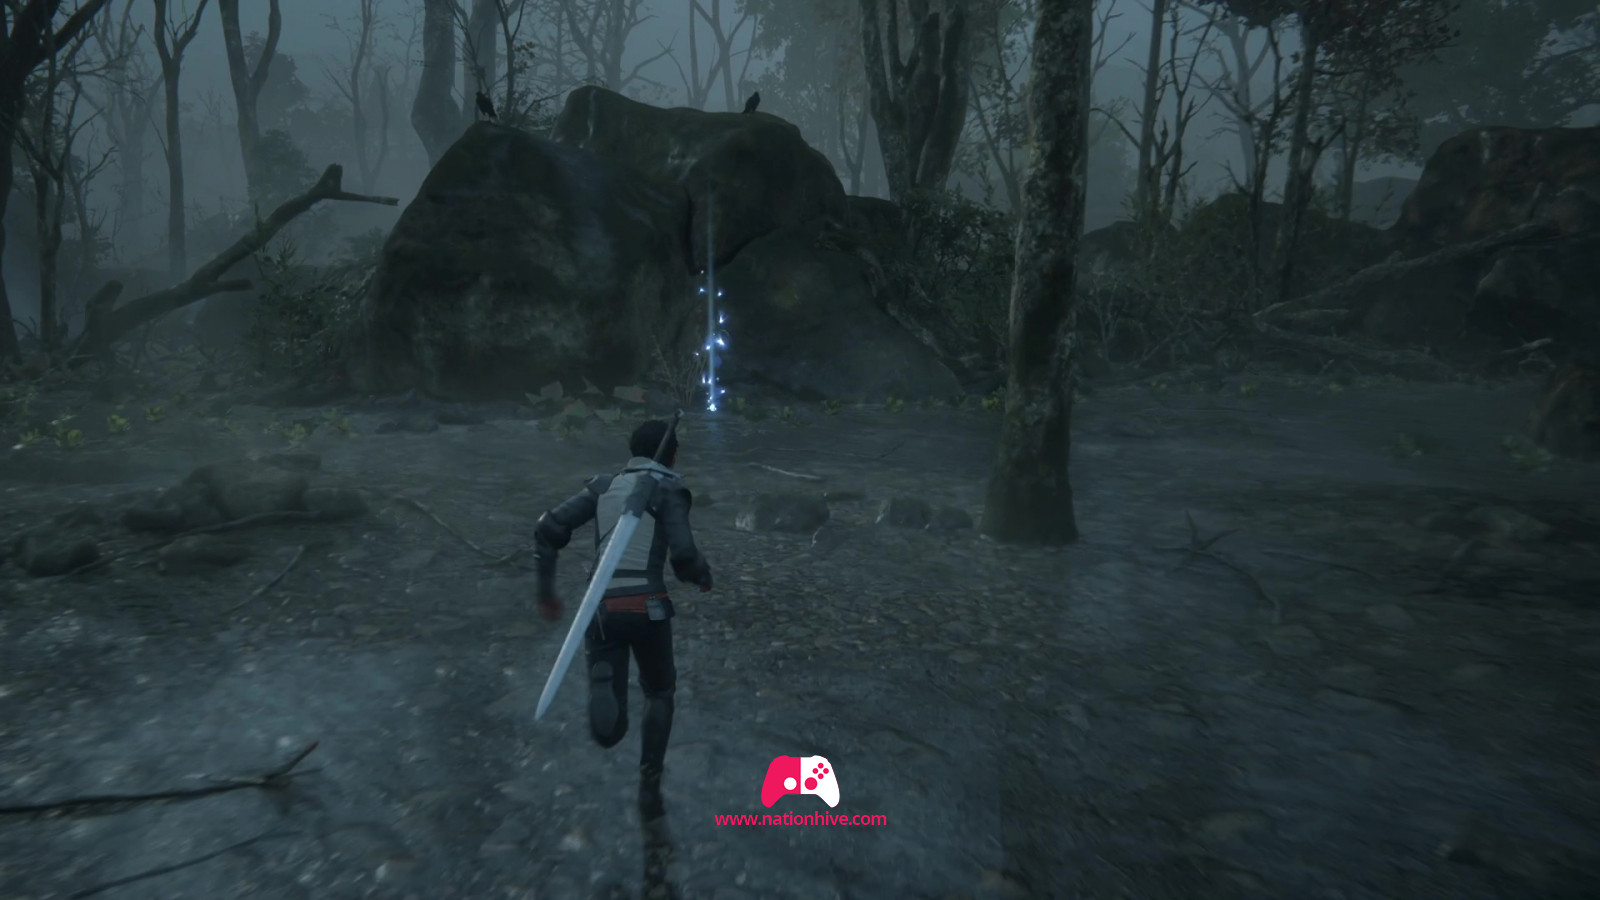
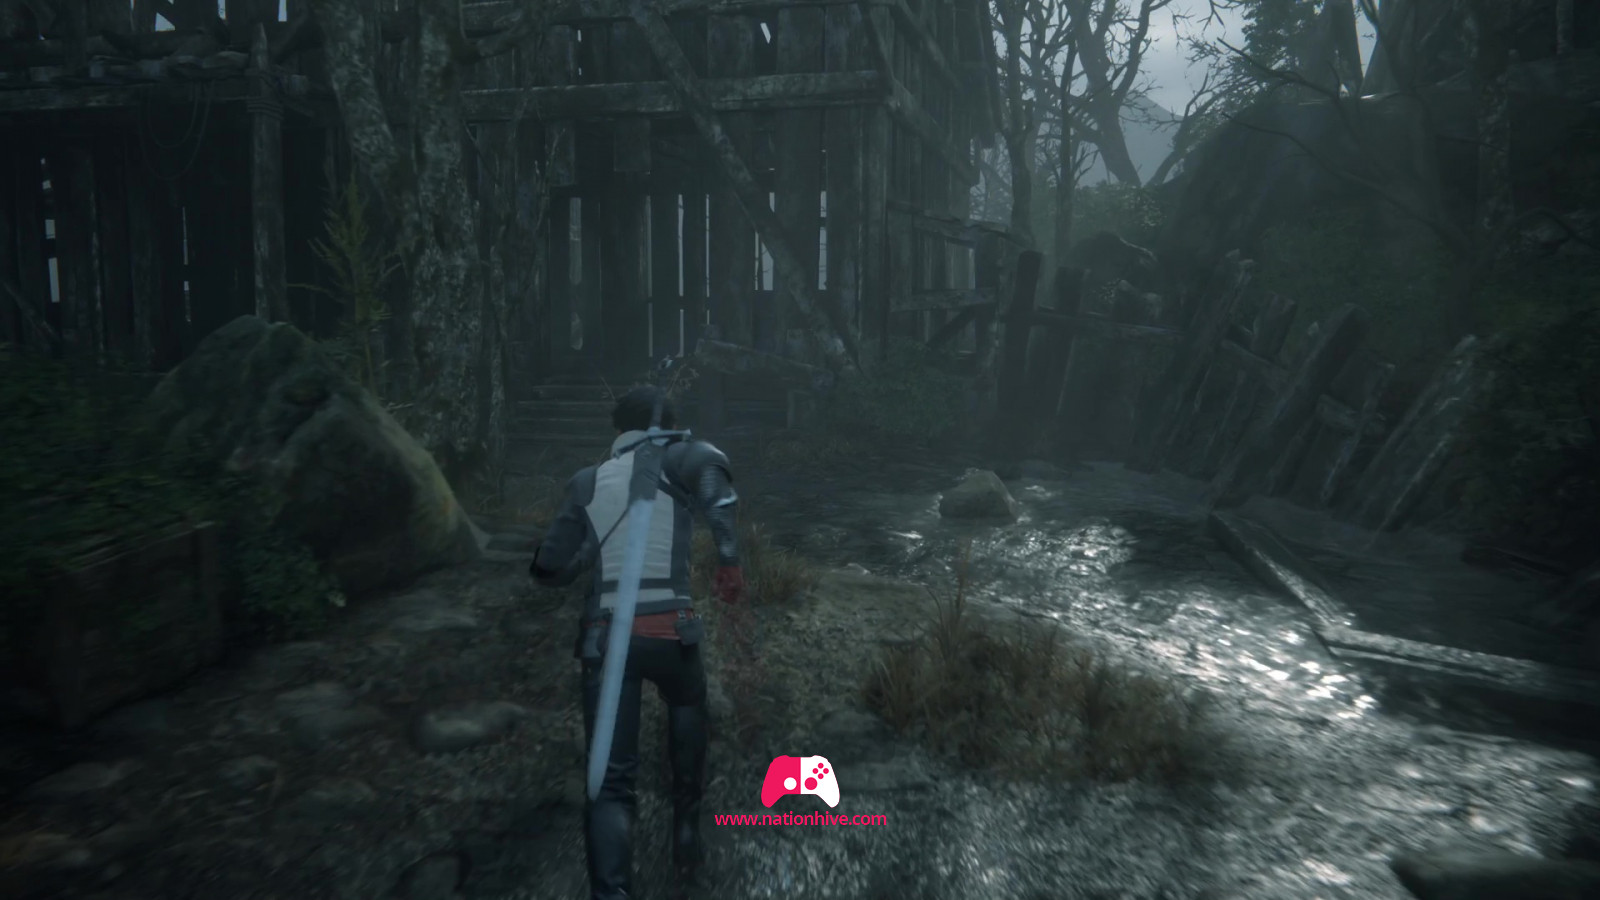
Move forward to reach a larger area, then head north to find 2gils then head west. Pass under the tree to start a scene.
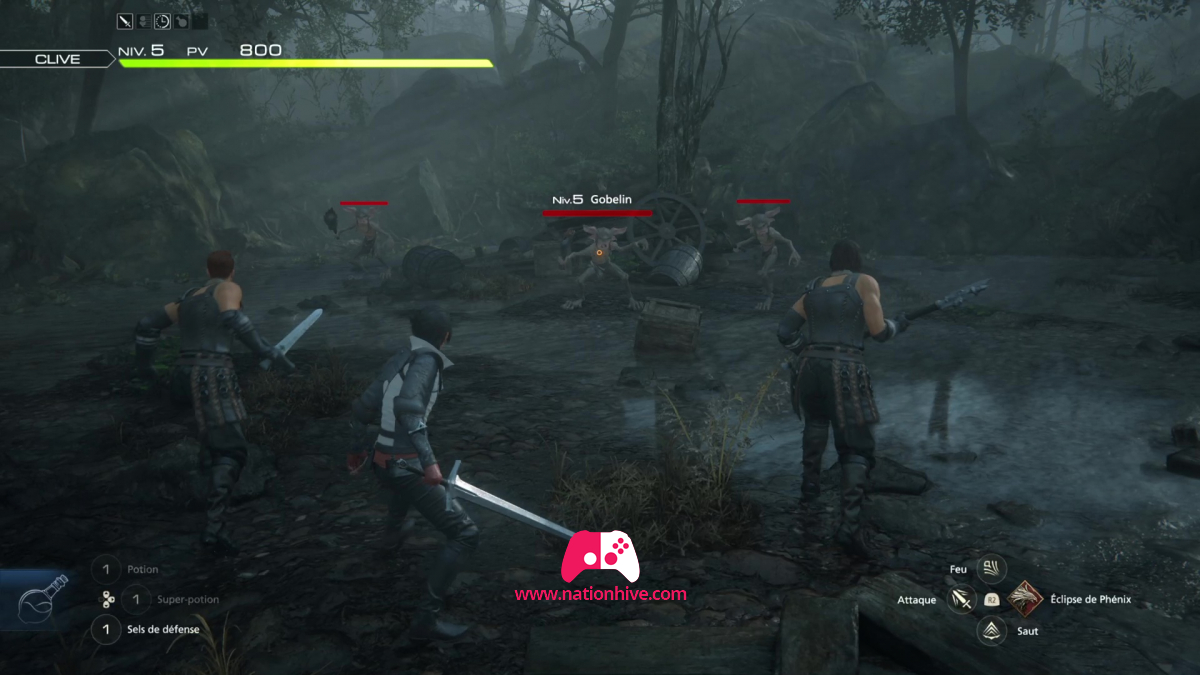
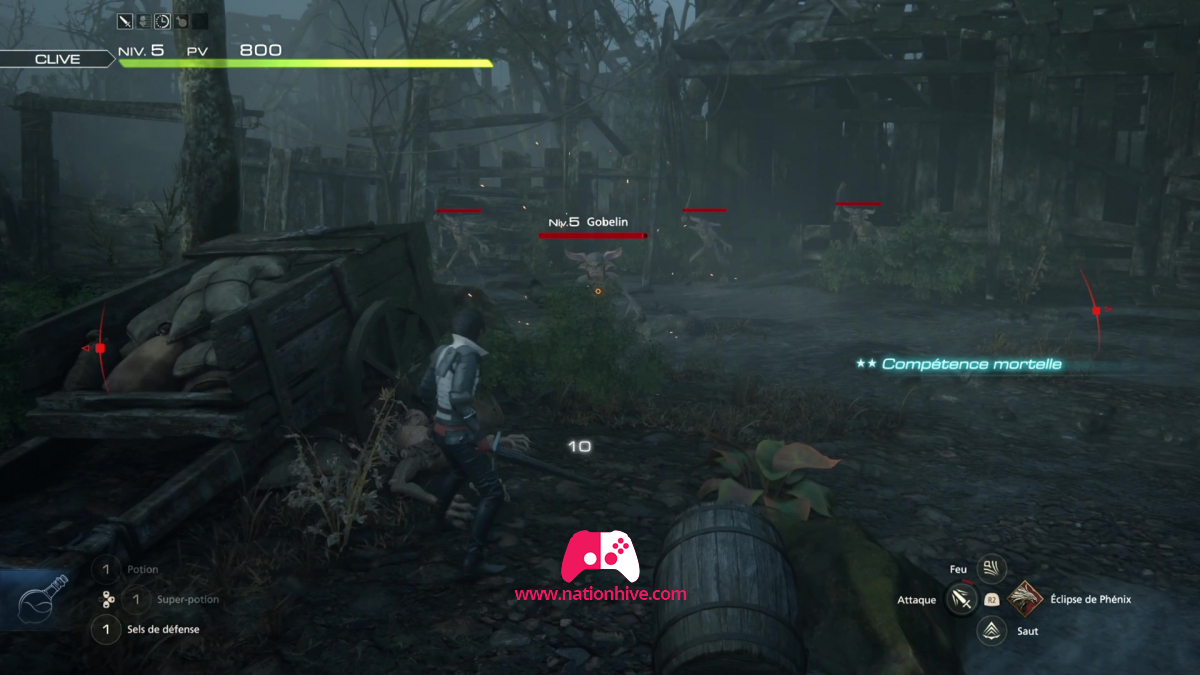
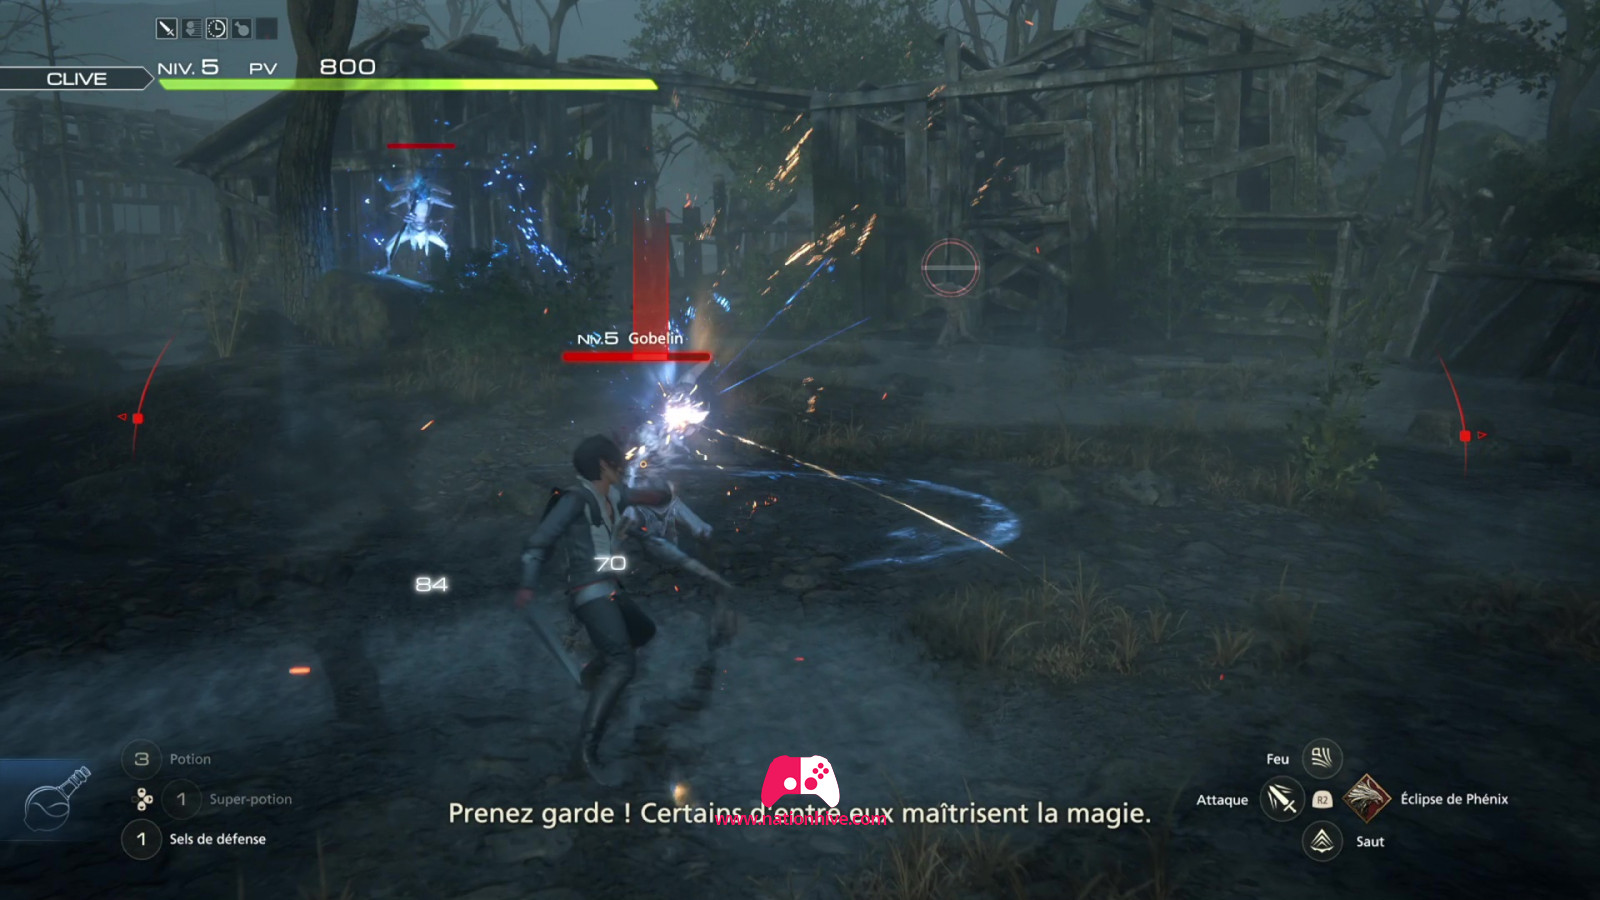
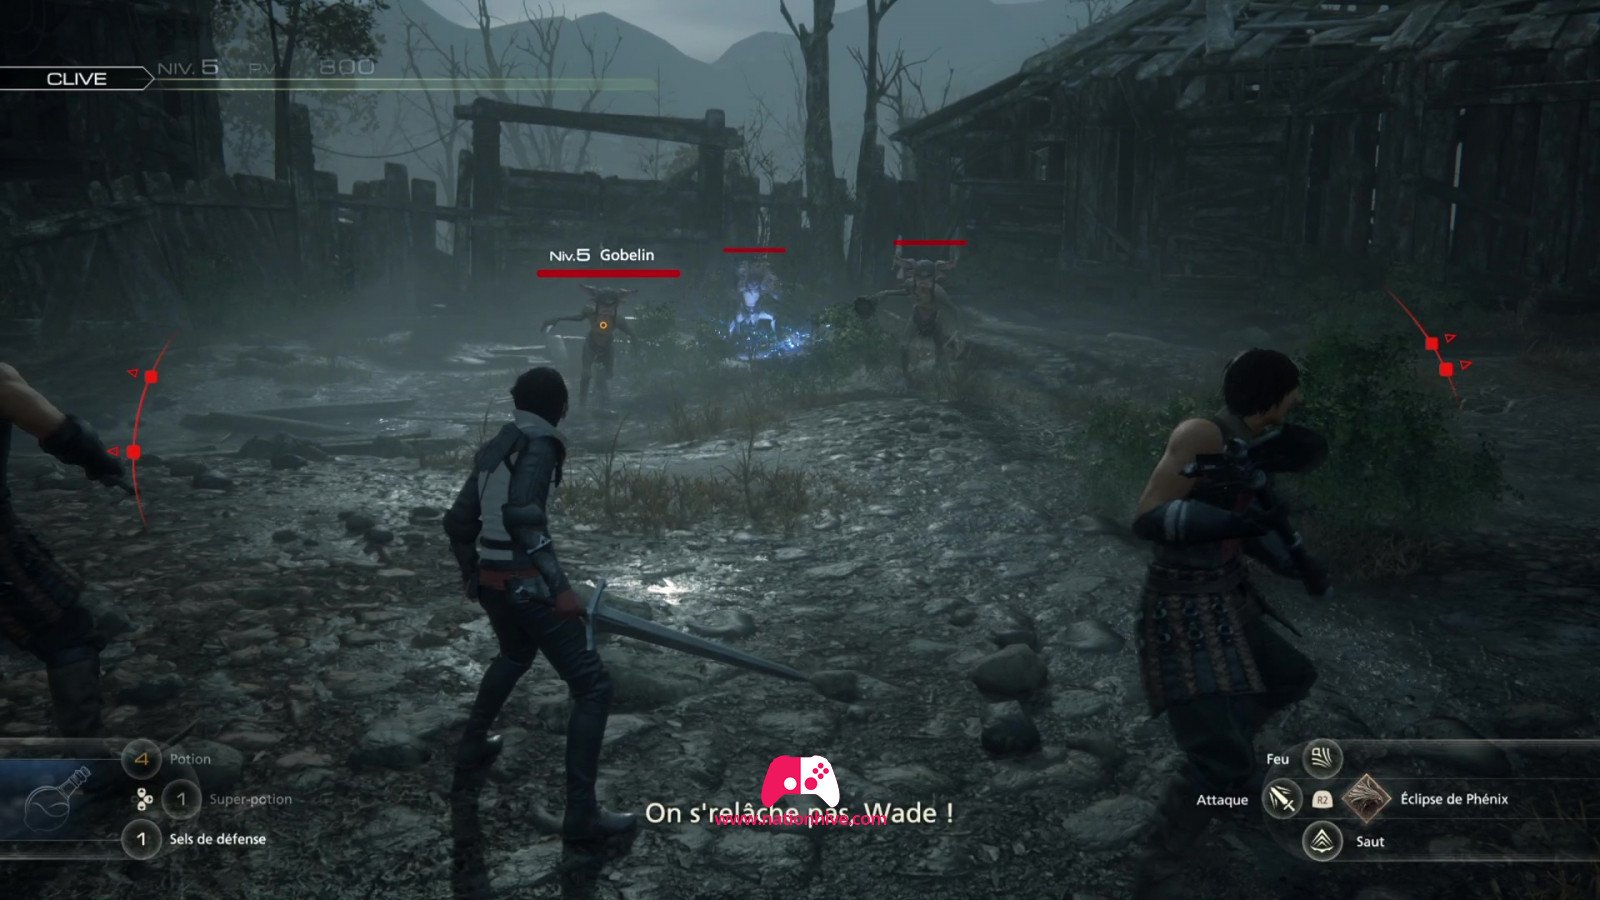
You'll then begin your first fight against three goblins. You'll learn to perform a Magic Burst, pressing triangle after each carré melee attack. This will inflict more damage to the Will Gauge than standard attacks.
This fight is similar to the one against The Lord Commander. Use Magic Burst several times and dodge the attacks of the other goblins. As you're accompanied by Wade and Tyler, you shouldn't have too much difficulty in this fight.
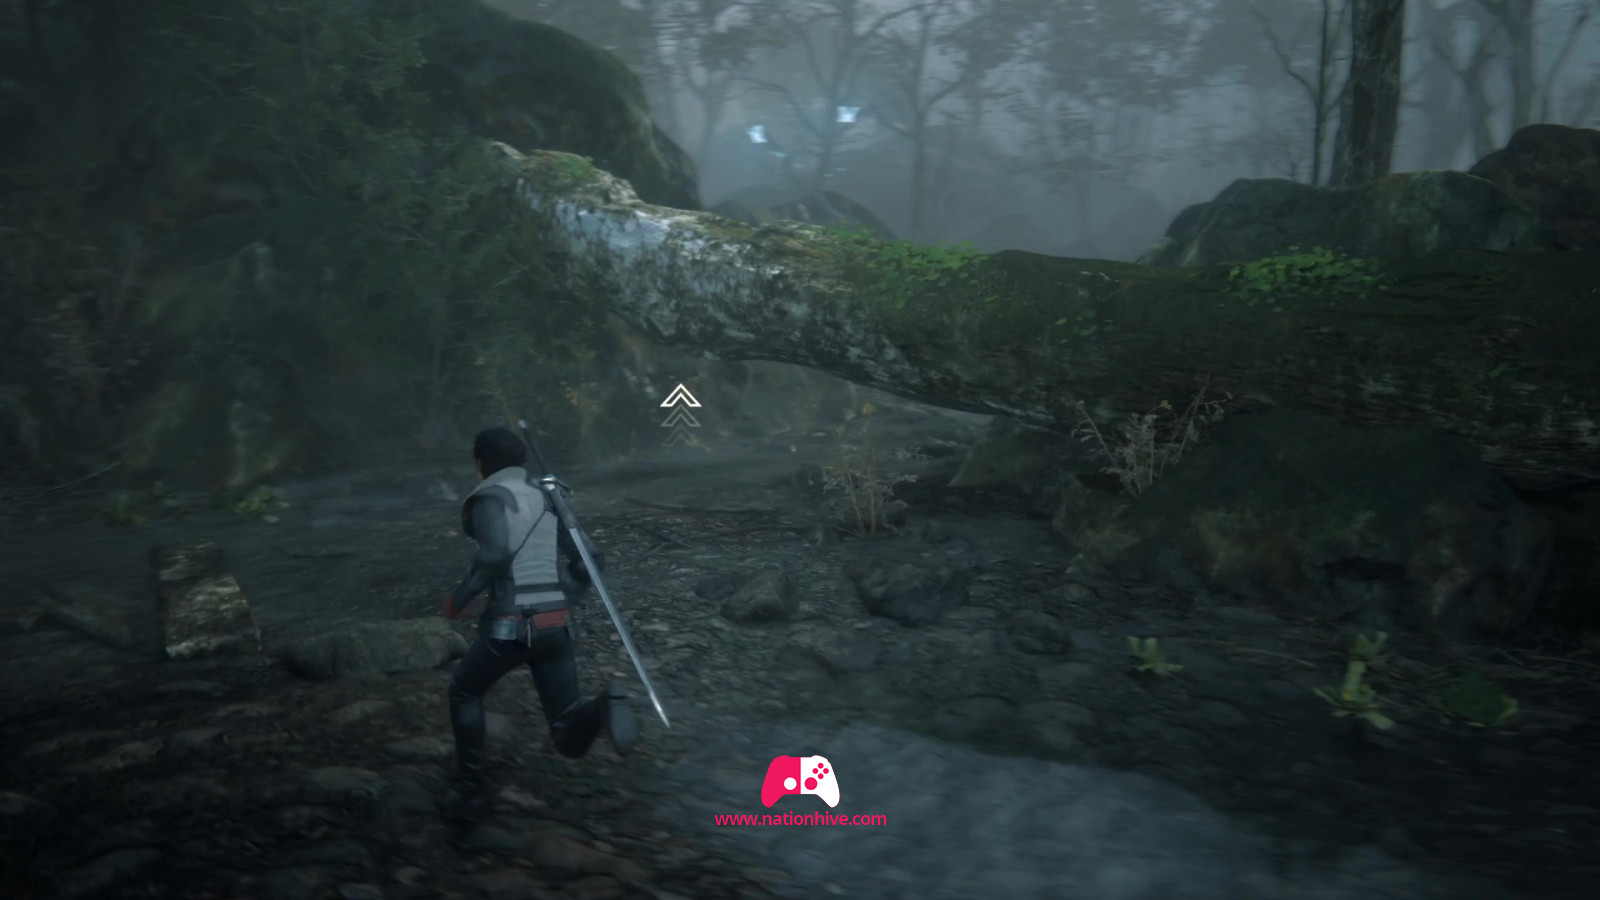
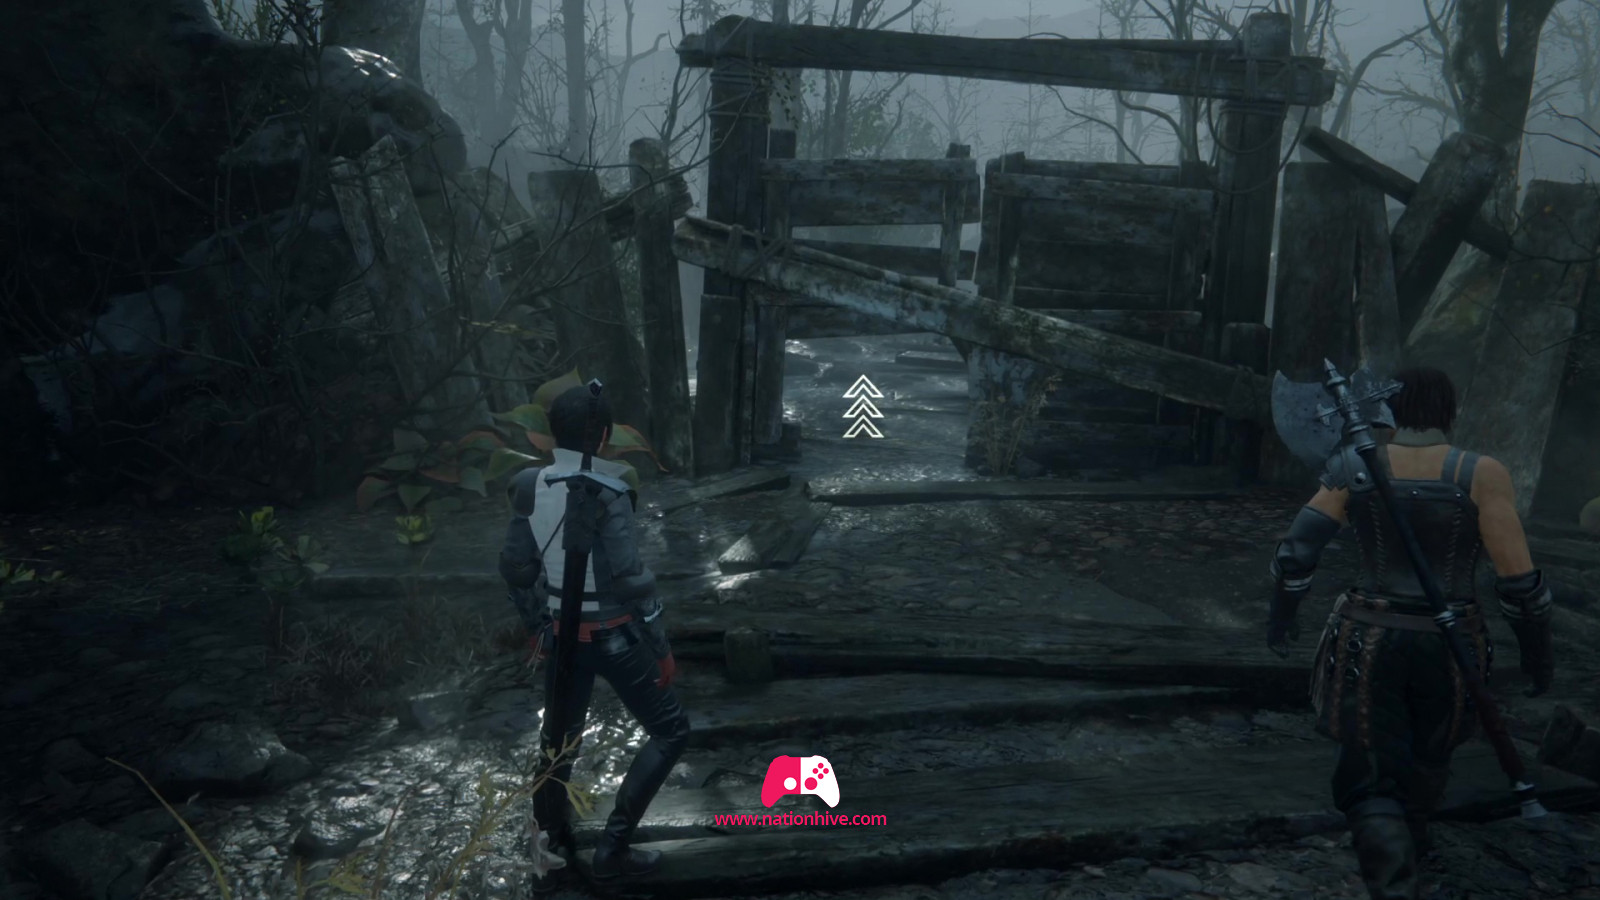
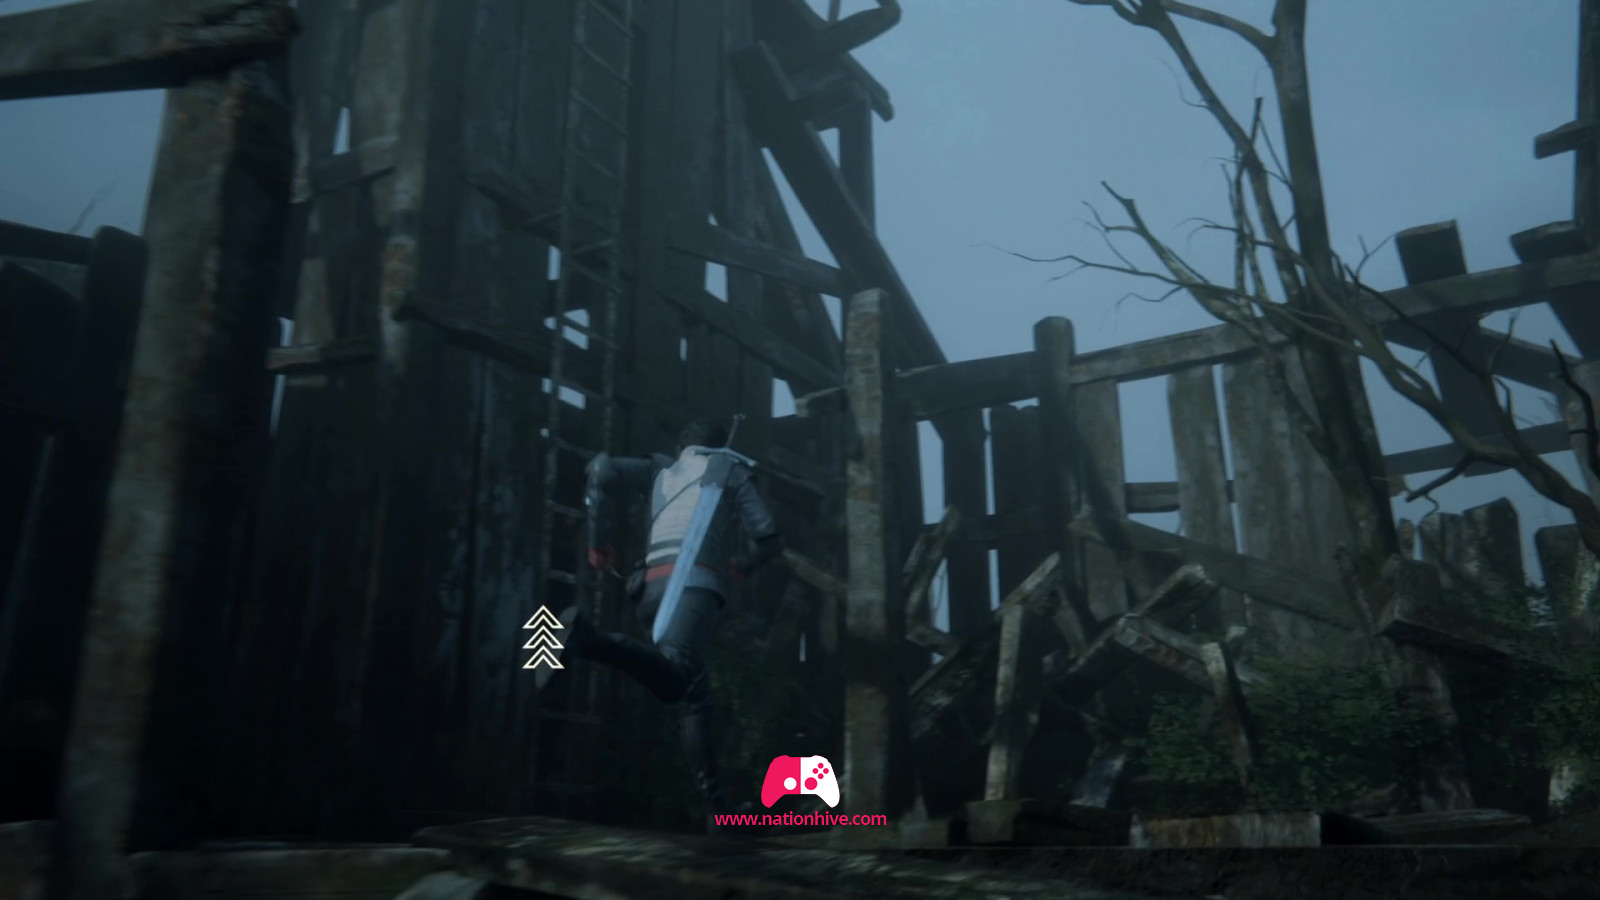
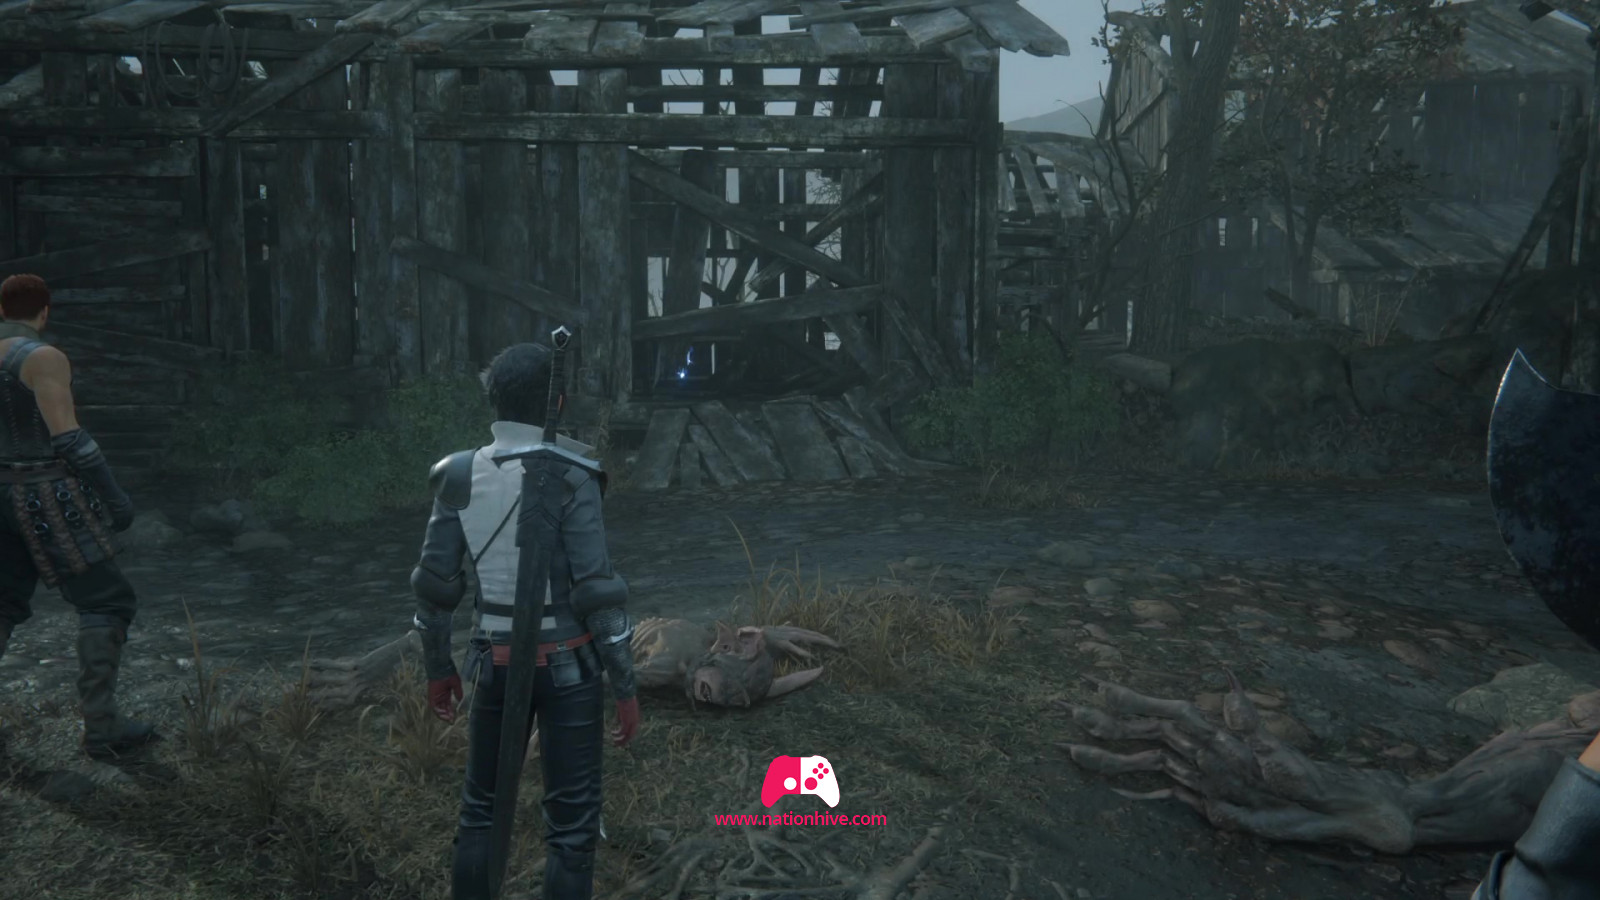
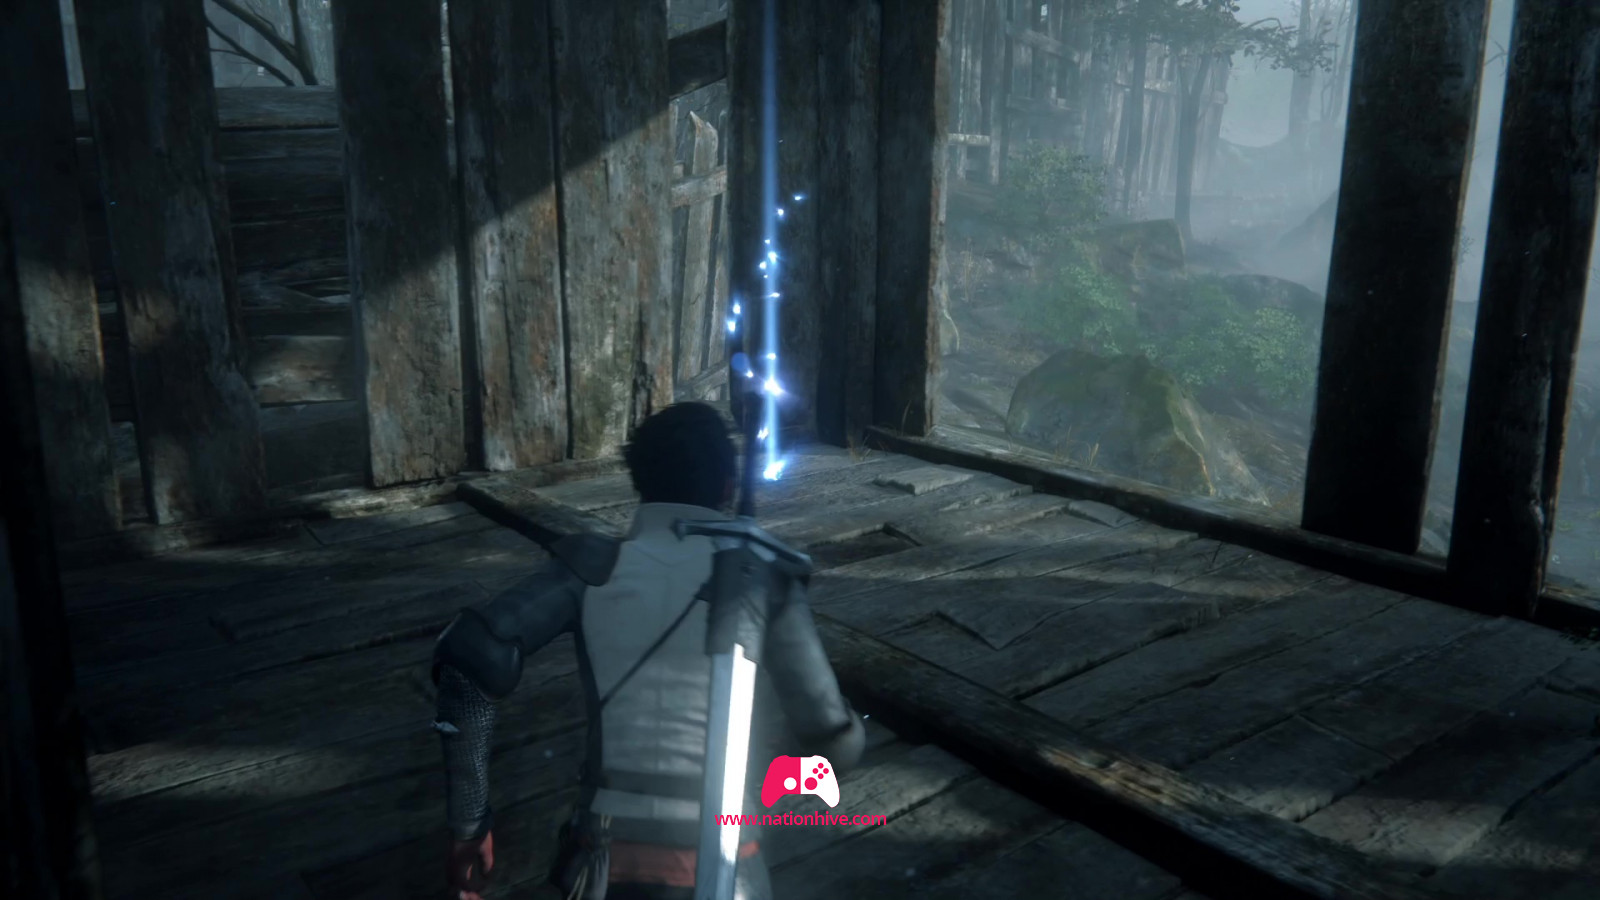
Now pass under the broken gate to the northeast, then continue your progress. You'll find a small wooden hut on the right in which you can find some Strength Tonic.

Continue straight ahead to join another group of Goblins. Some of them will drop shiny objects as you eliminate them. You'll then get a short tutorial on butins. Then eliminate all the enemies in the area with the same technique as the previous fight.
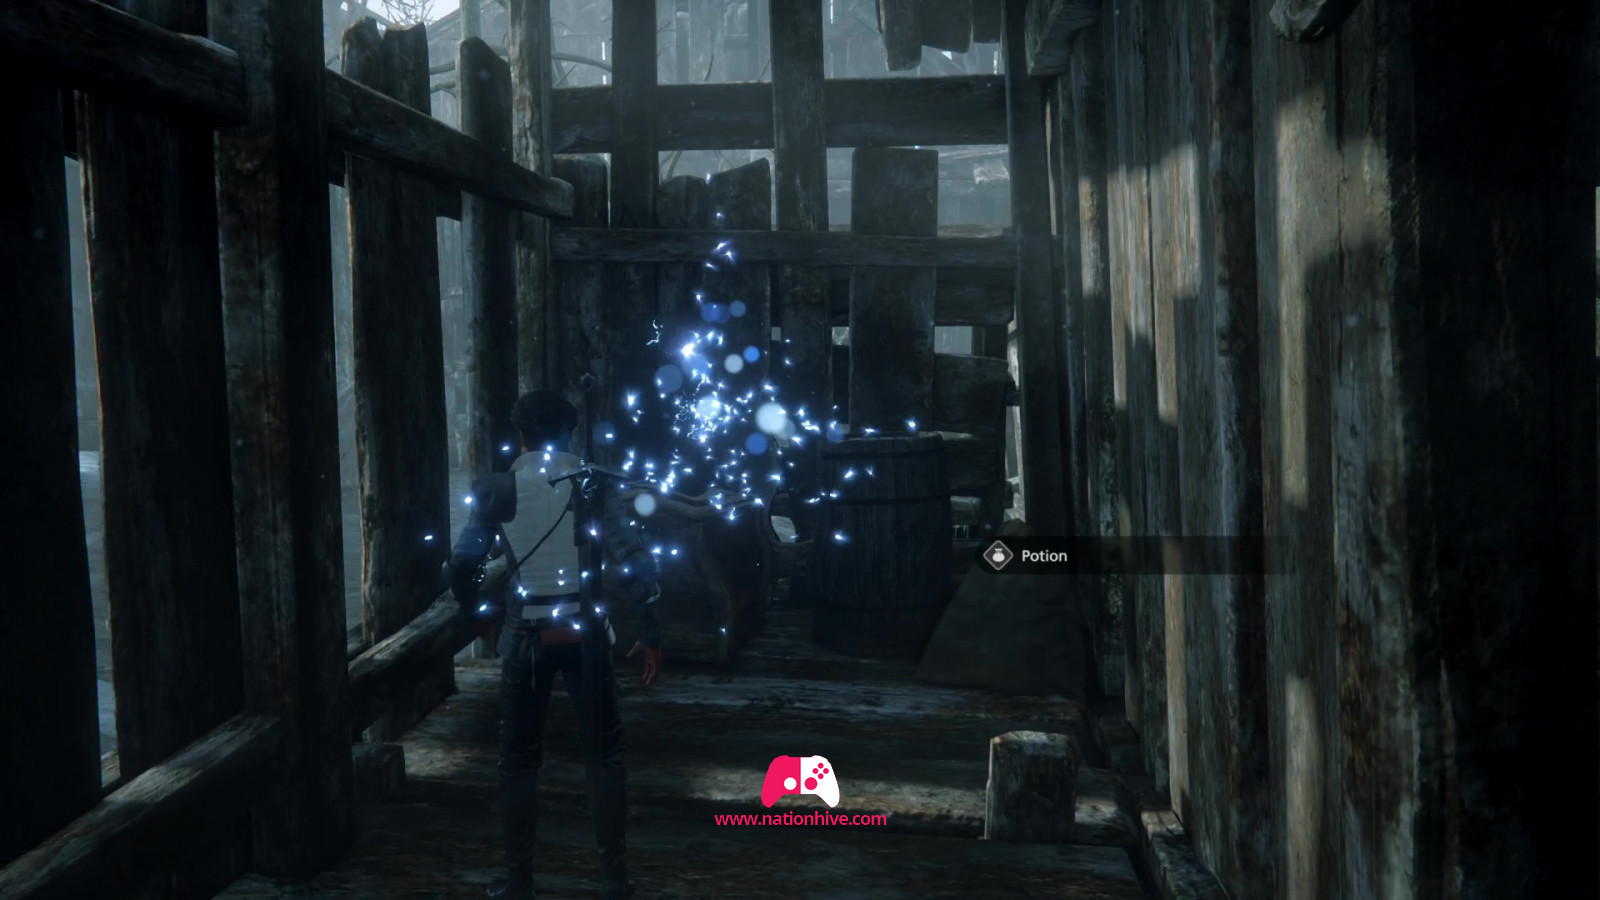
After the fight is over, enter the house to the left of the battlefield to find a potion at the back of the room.

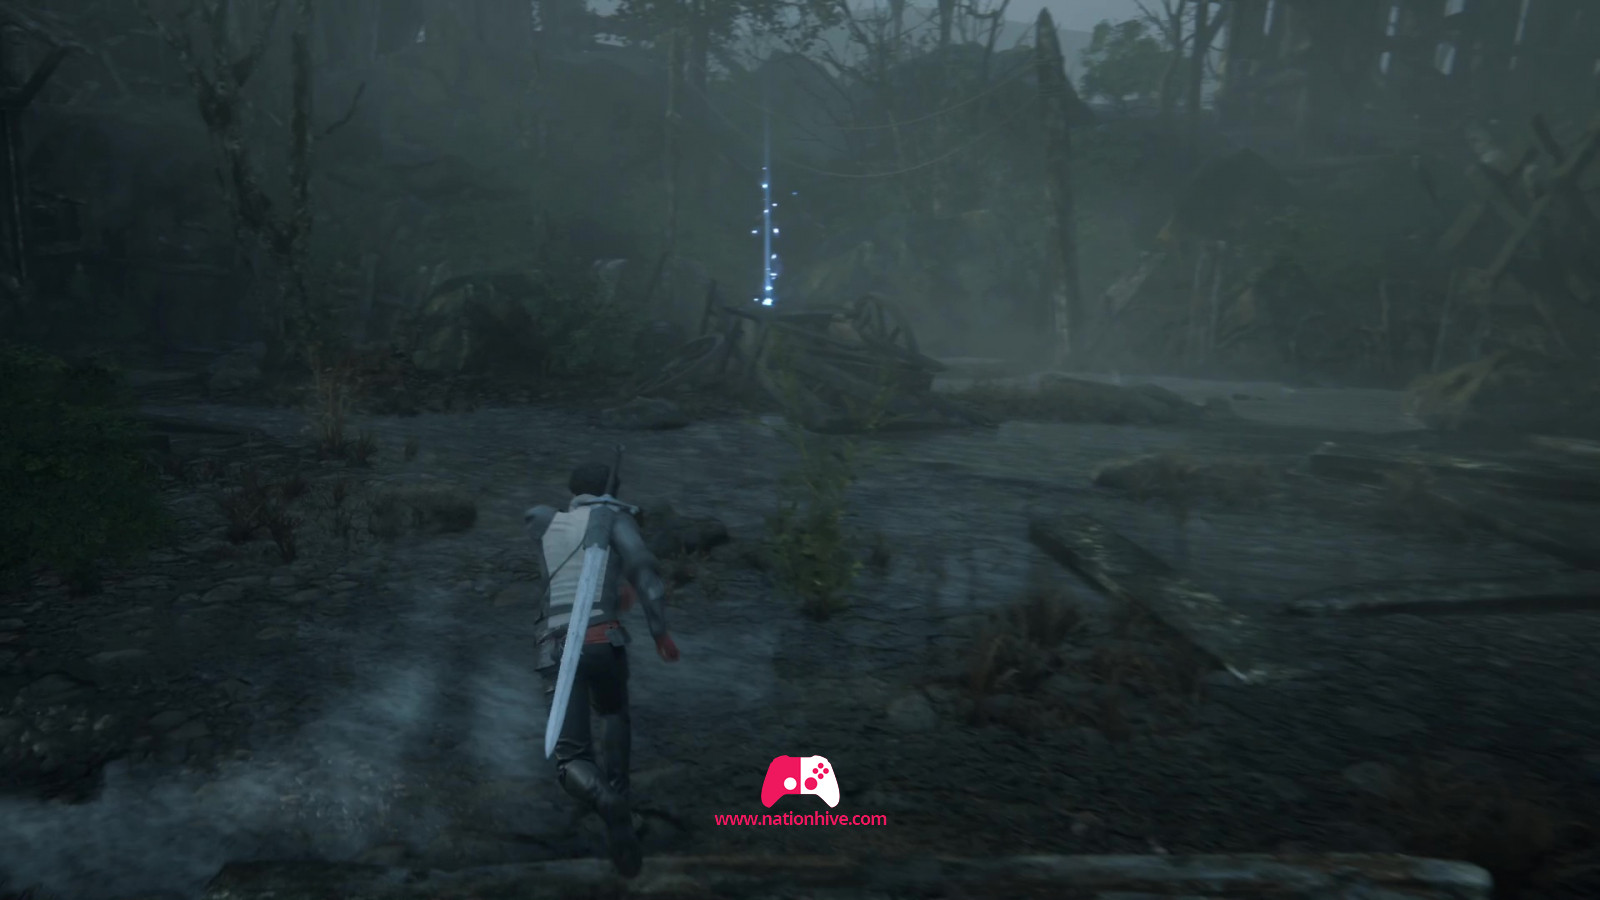
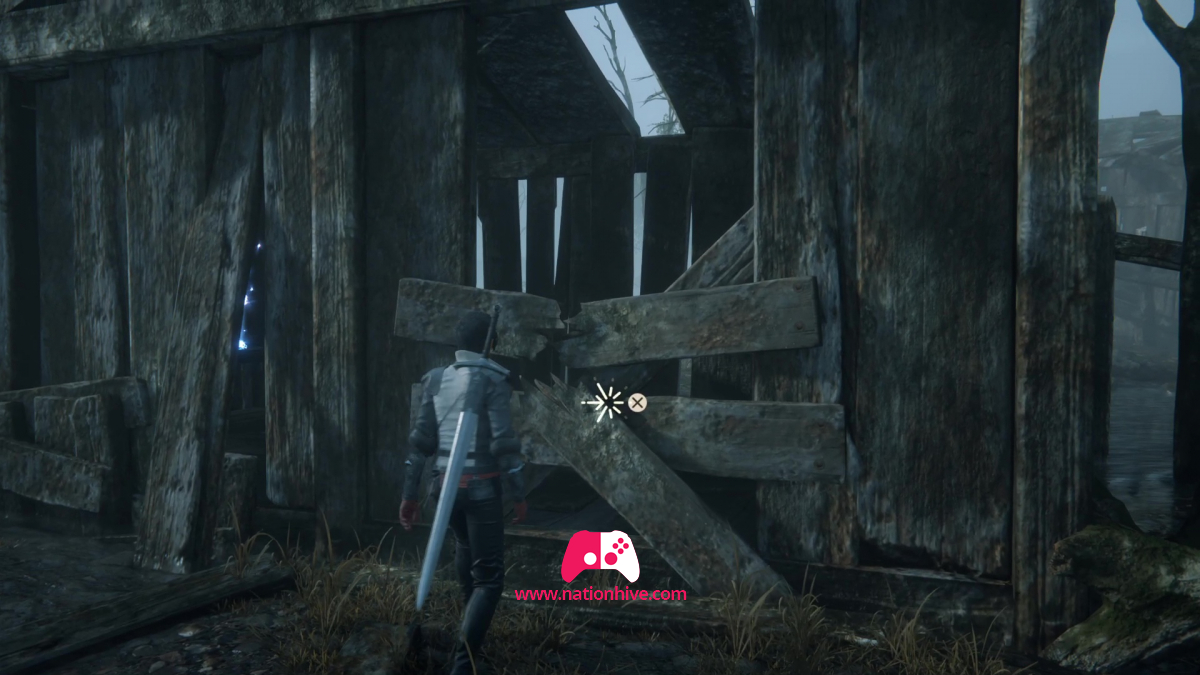
Leave the house and head for the gate to break it with R2. You'll then be able to reach a cart with a potion.

Go to the left of the cart to enter the house. Go up to the second floor to find Strength Tonic.
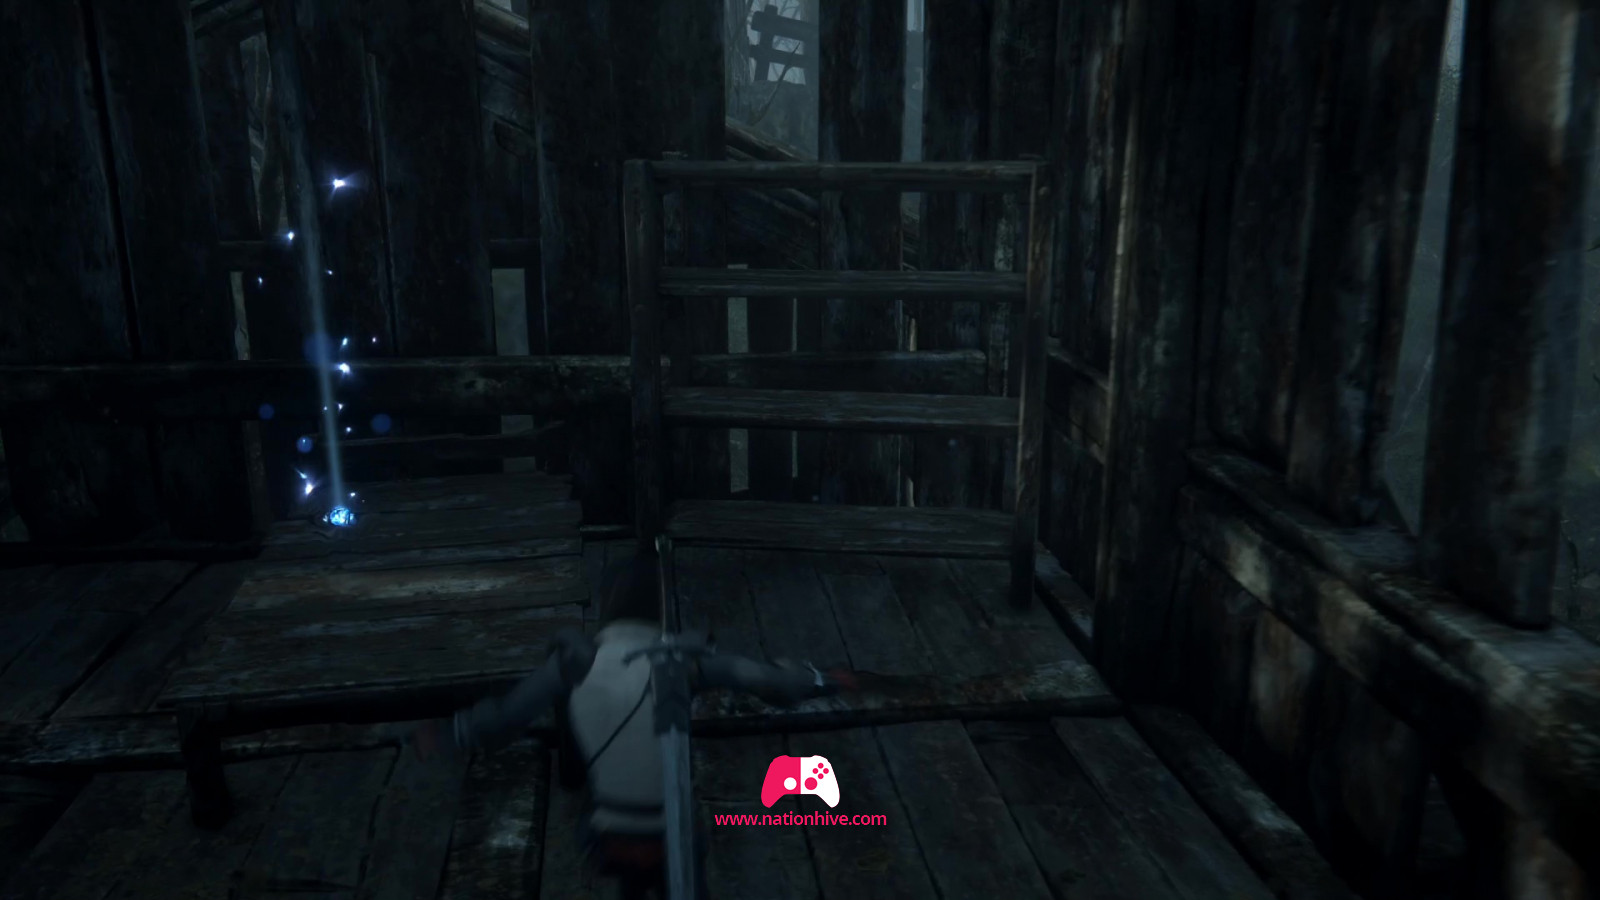
Leave the house and go into the ruined house to use the ladder near two blue butterflies. Jump down to join another group of goblins. You'll learn that some Goblins can use spells in the form of blue projectiles, these are the Goblin Weavers.
After a certain delay, you'll be notified that new enemies are arriving. Try to eliminate the Goblin Weavers as quickly as possible. As soon as you touch them, you'll prevent them from performing their spells, giving you time to eliminate them quietly.
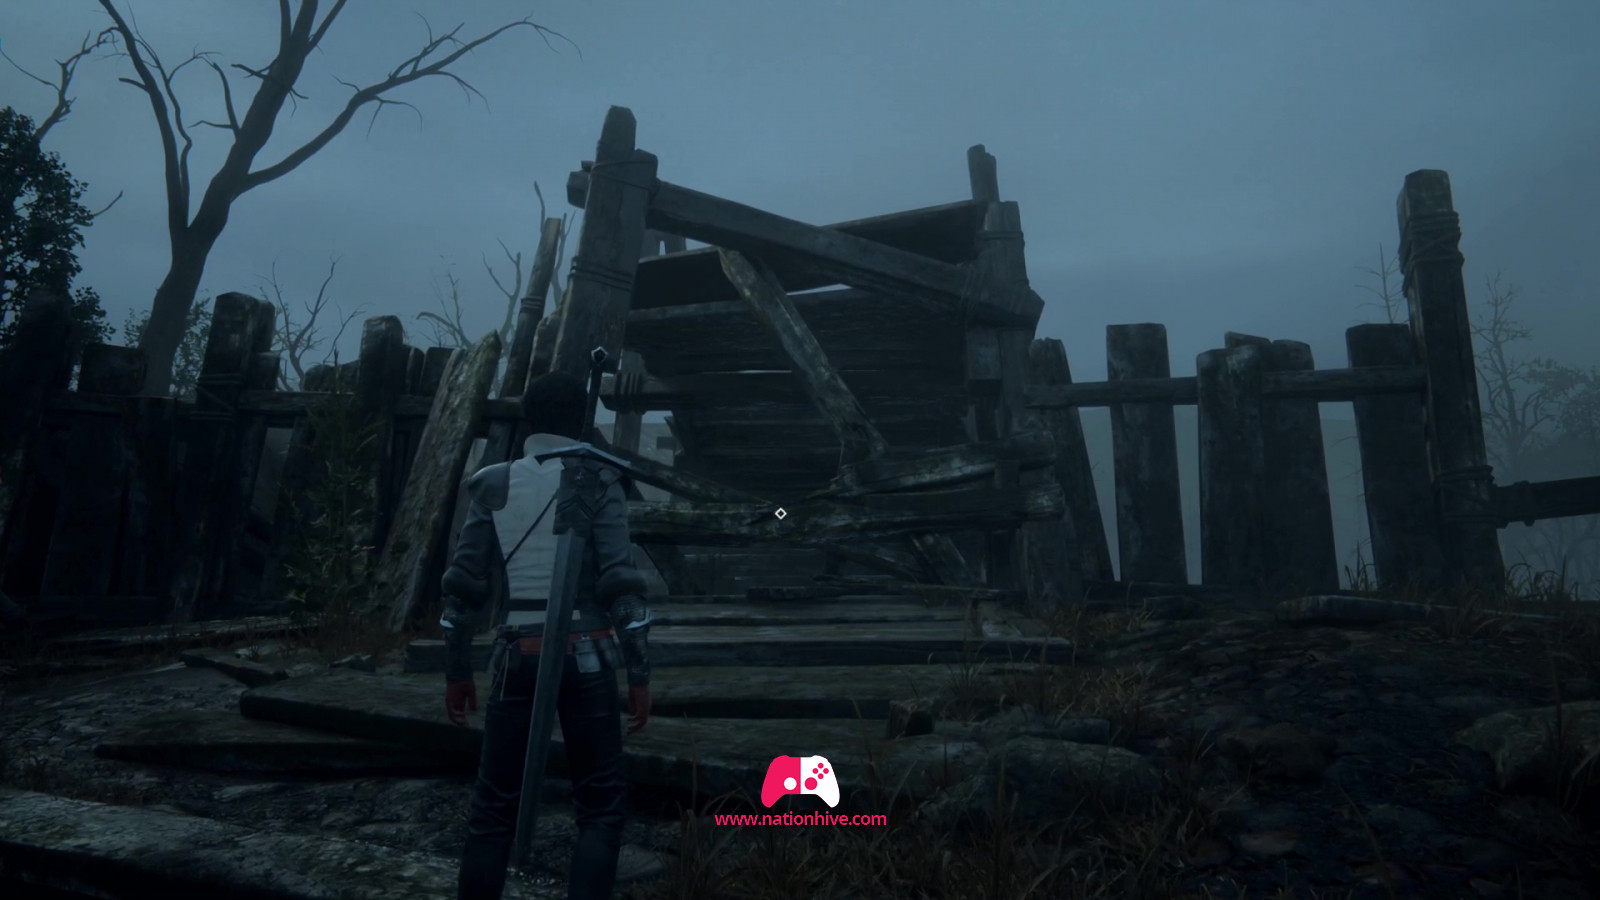
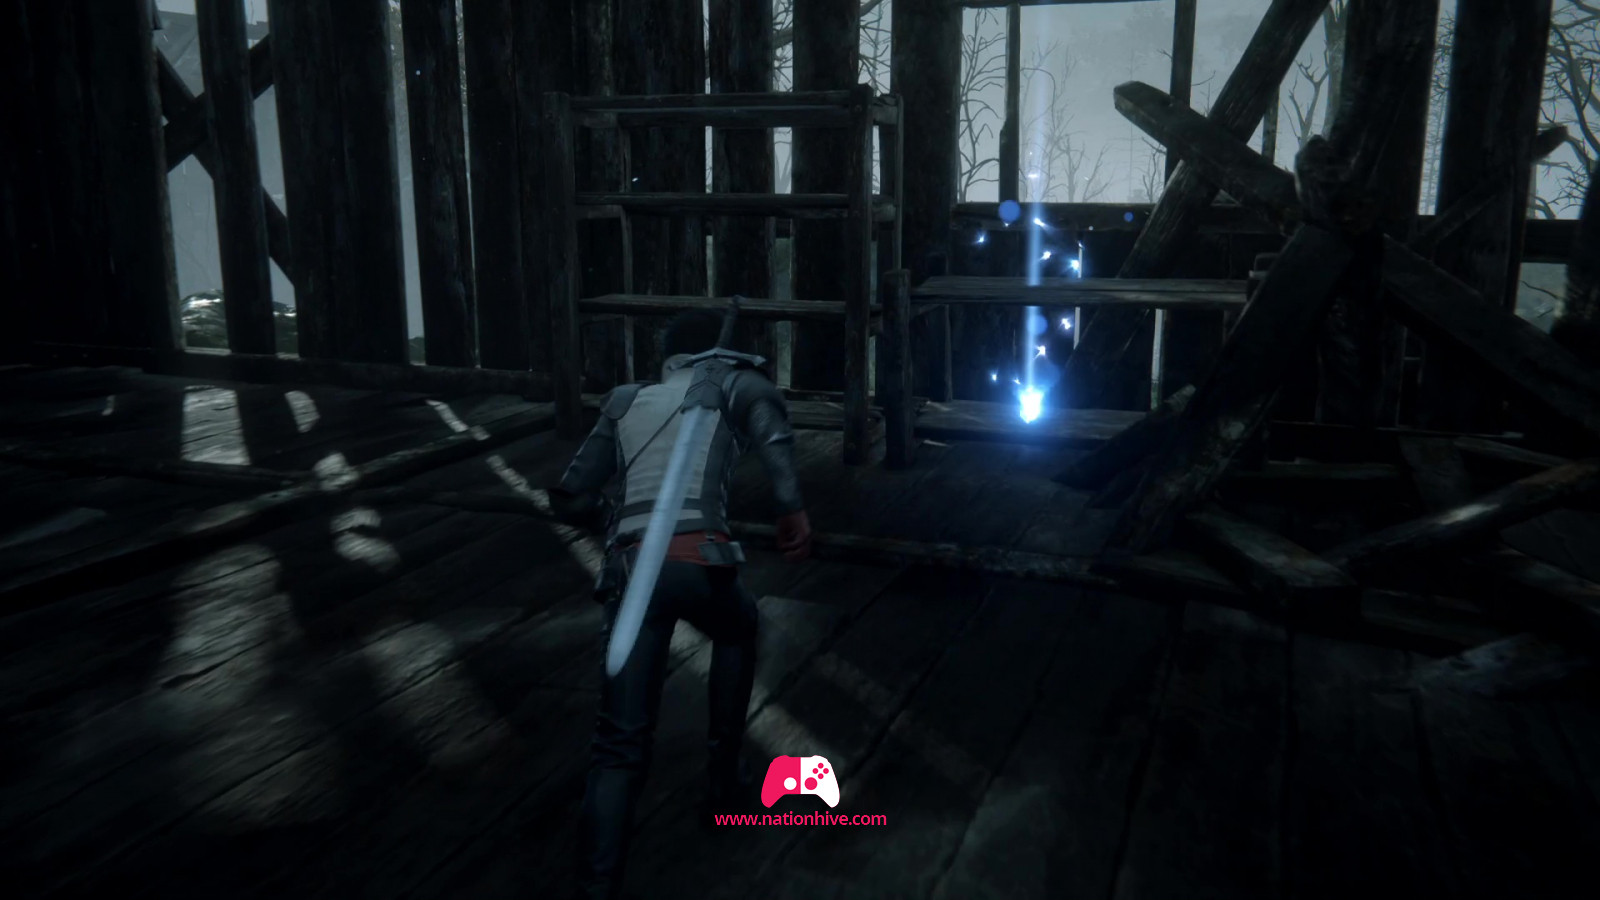
After the battle, go in front of the planks of the house to the north of the battlefield. Break the boards and go inside to find a Potion.
Go to the west of the battlefield to break more wooden planks. This will bring down the bridge, clearing the way. You'll find a potion on the other side.

You should now save your game, as your next step will be the boss of this quest. Keep moving forward to start a scene. You'll need to eliminate a new group of Goblins.
Once all the goblins have been defeated, a more powerful enemy will come to attack you. You'll then be introduced to Formidable Foes, who are similar to bosses.
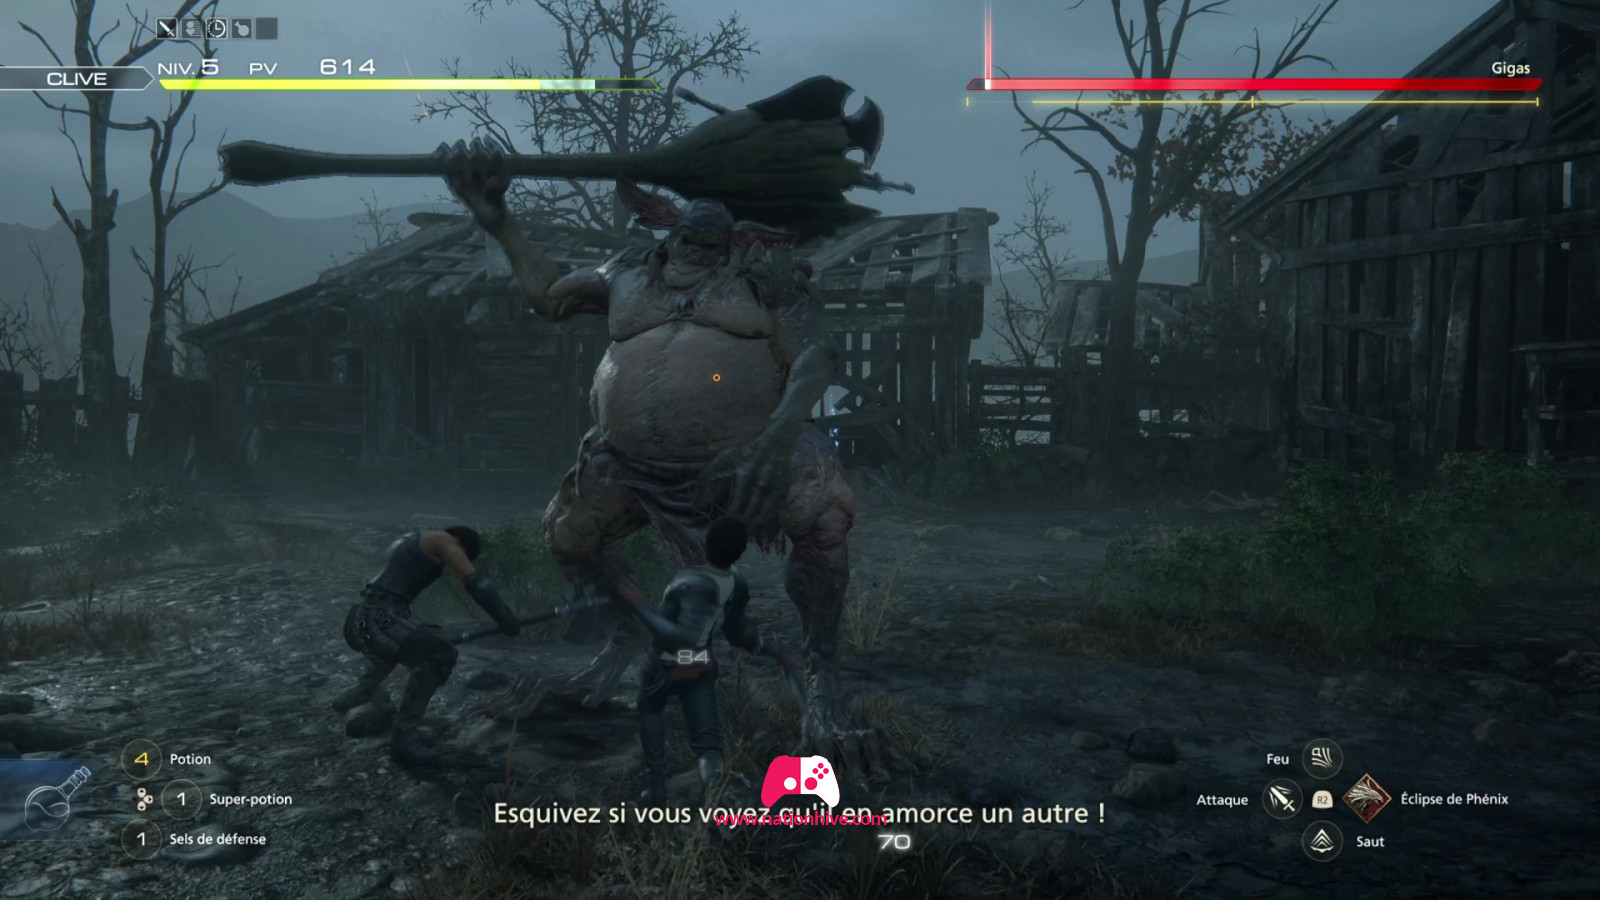
Gigas will attack you with great blows of his club. His movements are slow, but inflict a lot of damage. Dodge his attacks, and use Phoenix Eclipse to attack. Use Magic Burst to quickly lower his Will Gauge.
Gigas is all about sledgehammering, and Wade and Tyler will come in handy during this fight. By reducing Gigas's will Gauge by 50%, a tutorial on destabilization will appear. By reducing Gigas' will Gauge to 0, you'll begin the tutorial on multiplying damage on a Stagger enemy. You'll then be able to do 1.5x more damage to Staggered enemies. This is the perfect time to perform your best attacks against Gigas, including the Heatwave R2+carré combo.

If you're too injured by Gigas' attacks, heal yourself with your Potions. Wade and/or Tyler can throw healing items at you, but they don't always come at the right time. While you're waiting to heal, step back and cast magic from a distance.
At the end of the battle, you'll gain a level and earn battle rewards. These battle rewards are earned according to your performance in battle. Stars awarded for actions taken during a battle count towards the score and influence the rewards.
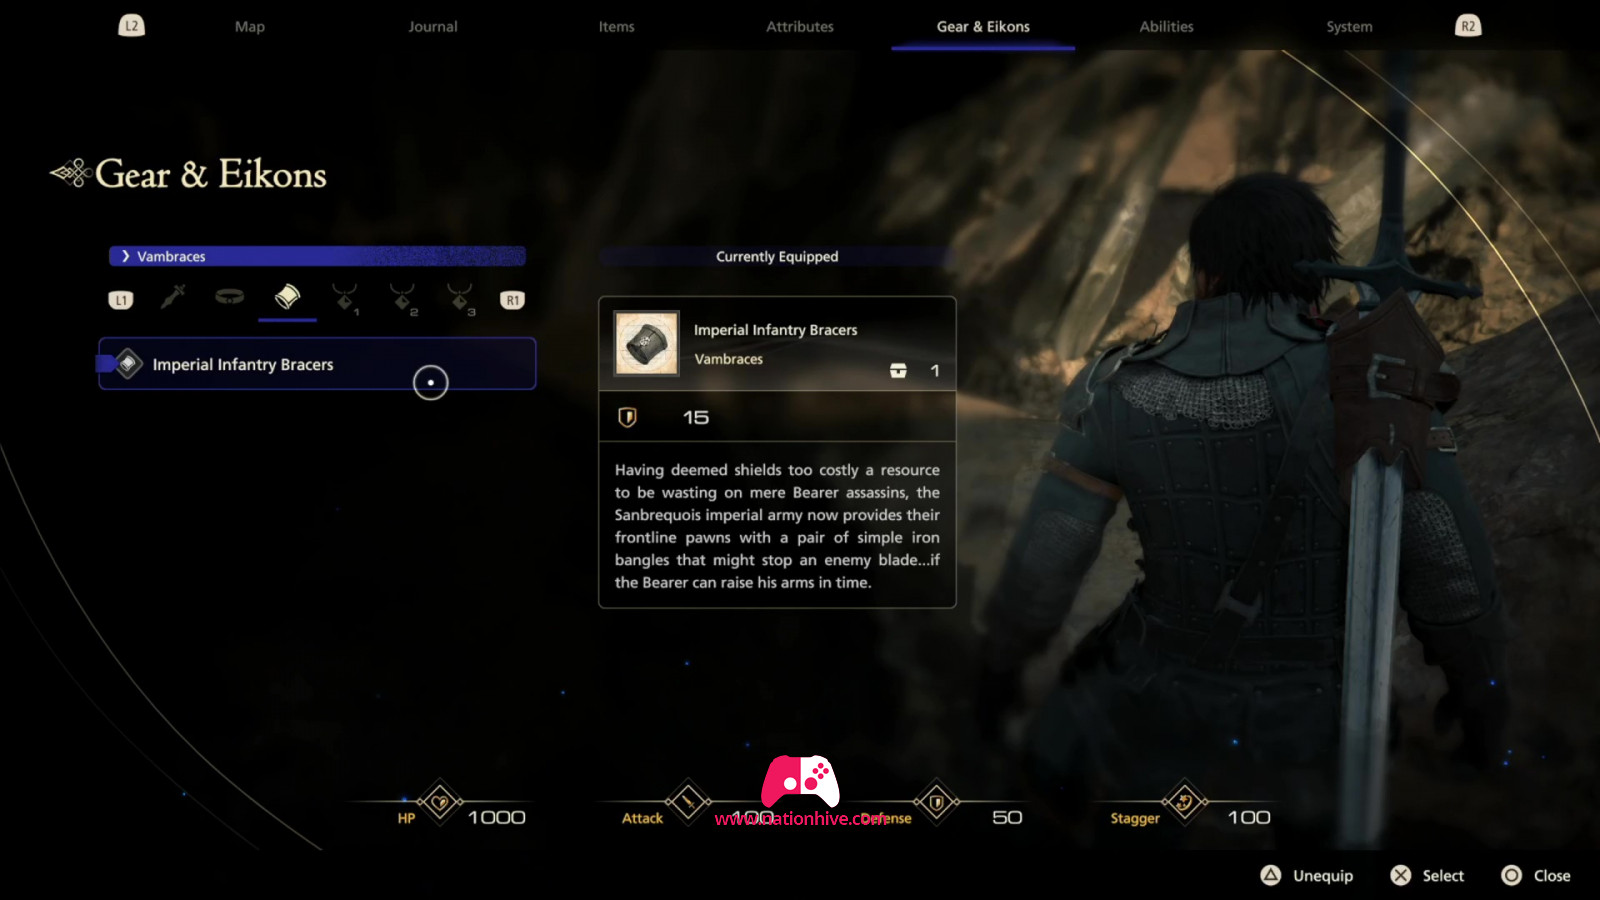
After the short cinematic, you get a tutorial on Clive's equipment and skills. Go to the main menu, then Gear & Eikons to equip the Hard Leather Armlets you've earned. Get into the habit of equipping yourself regularly to help you during battles.
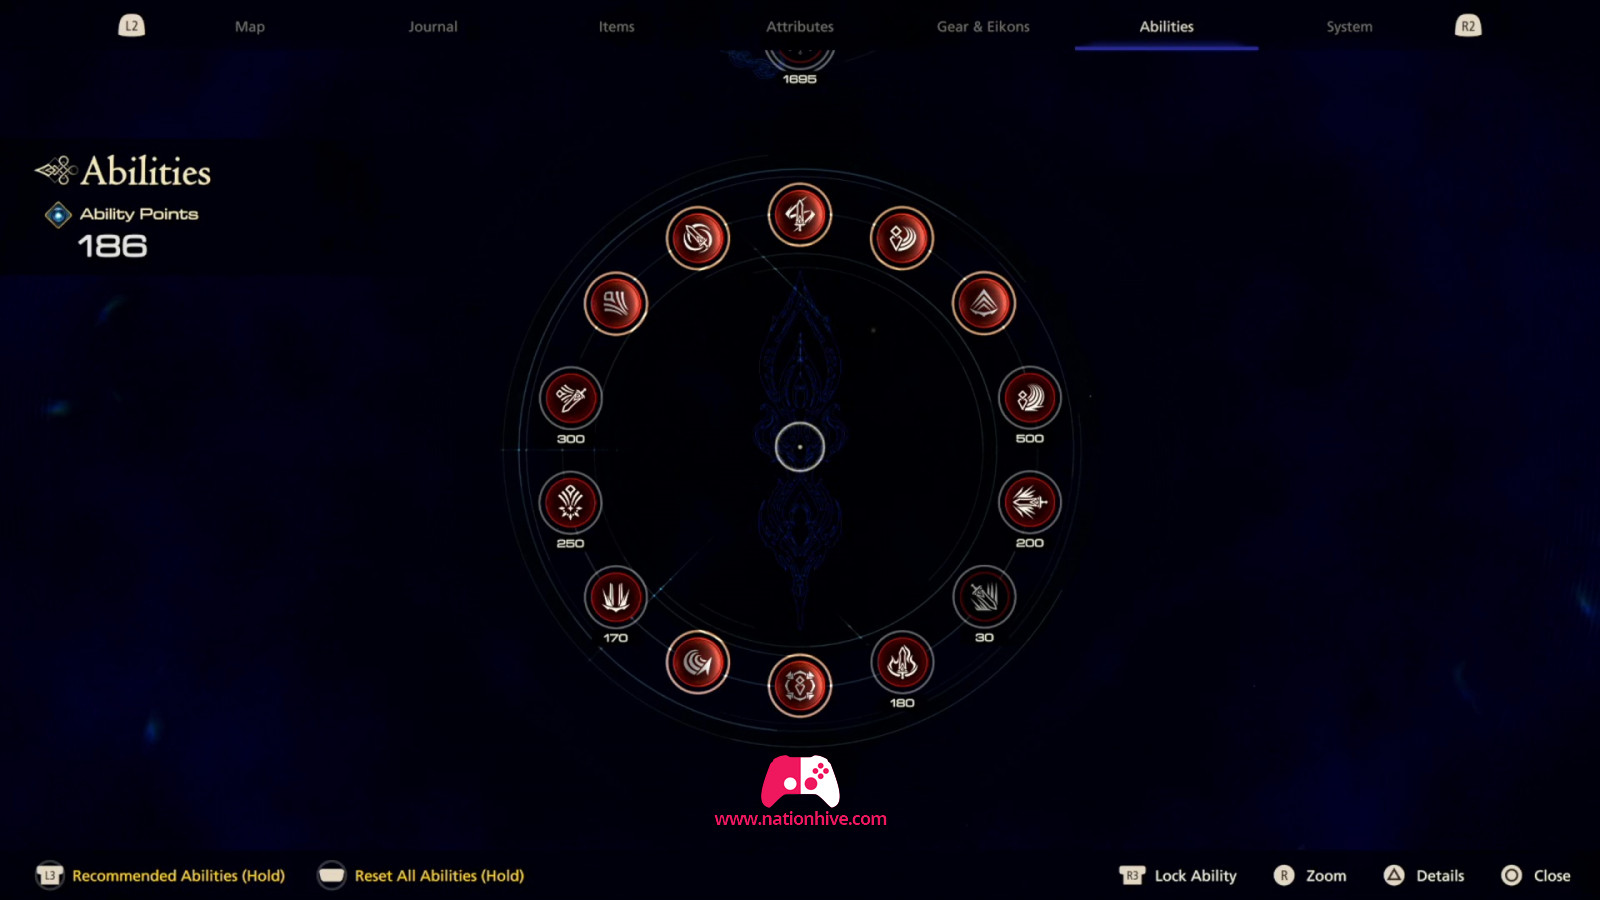
Then go to the Abilities tab to use the ability points you've earned. You'll be able to reset these allocations without penalty later, so you shouldn't hesitate to spend it all.
When you're ready, go straight ahead and pass under the wooden planks. Enter the house to find a High Potion. Head to the left of the house to find a potion. Then exit the house, turn right to follow the Goblin.
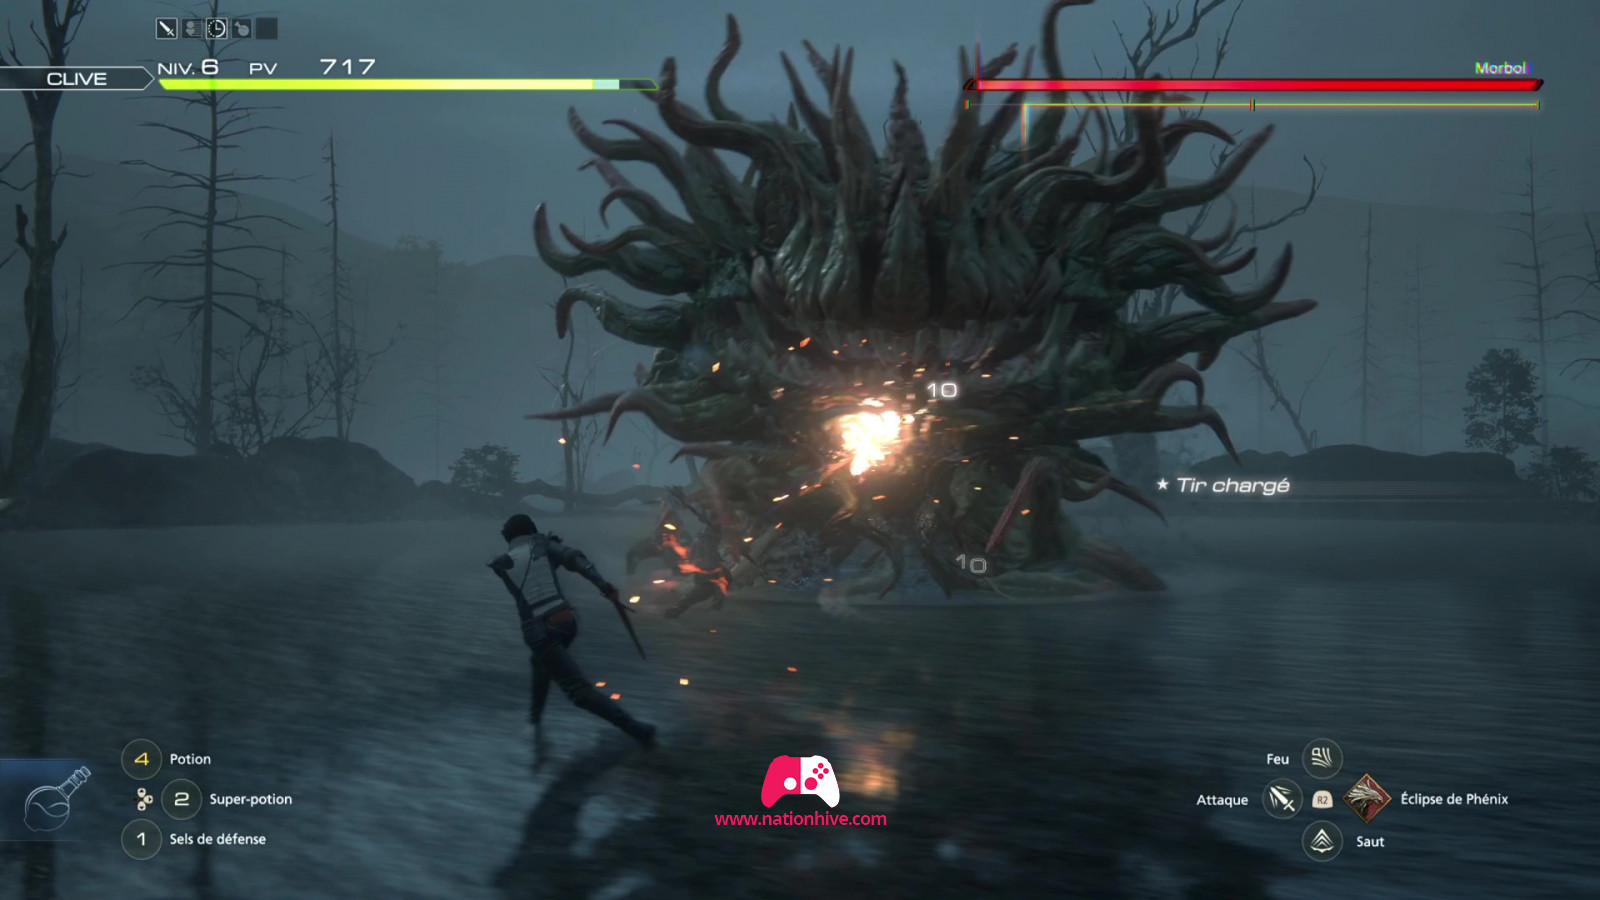
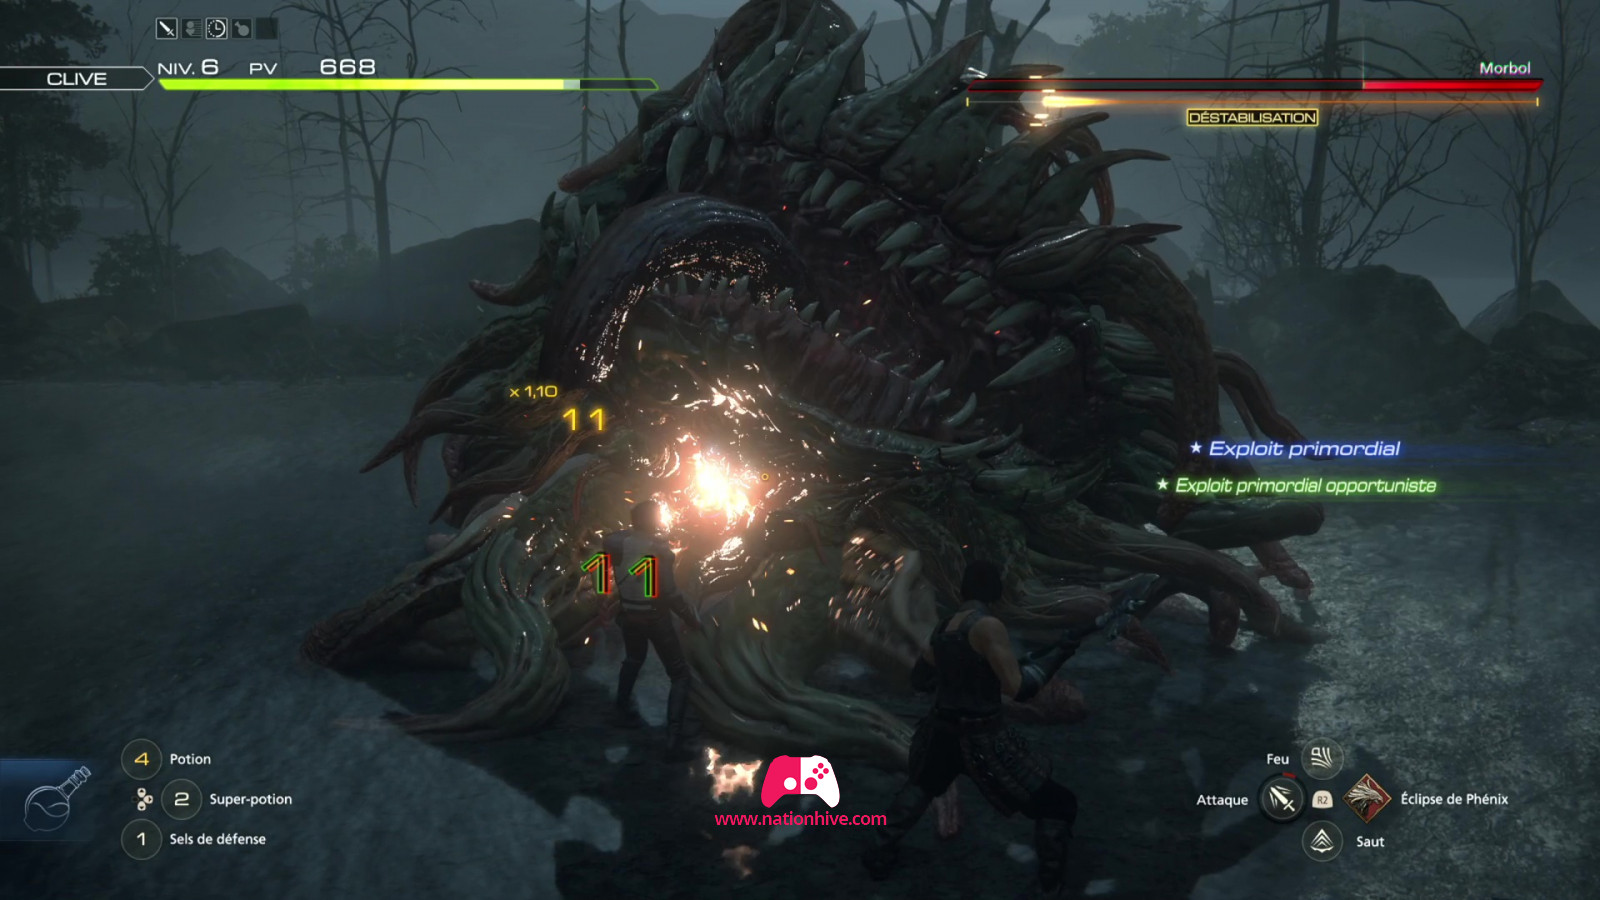
Pursue it until it drops a house in your path. Take the opportunity to save and continue chasing it to meet a Morbol.
During this fight, avoid standing in front of Morbol's mouth to avoid being spat at from a distance, as well as being caught by his tentacles. With his Bad Breath attack, you'll launch a product that will damage anyone in front of him.
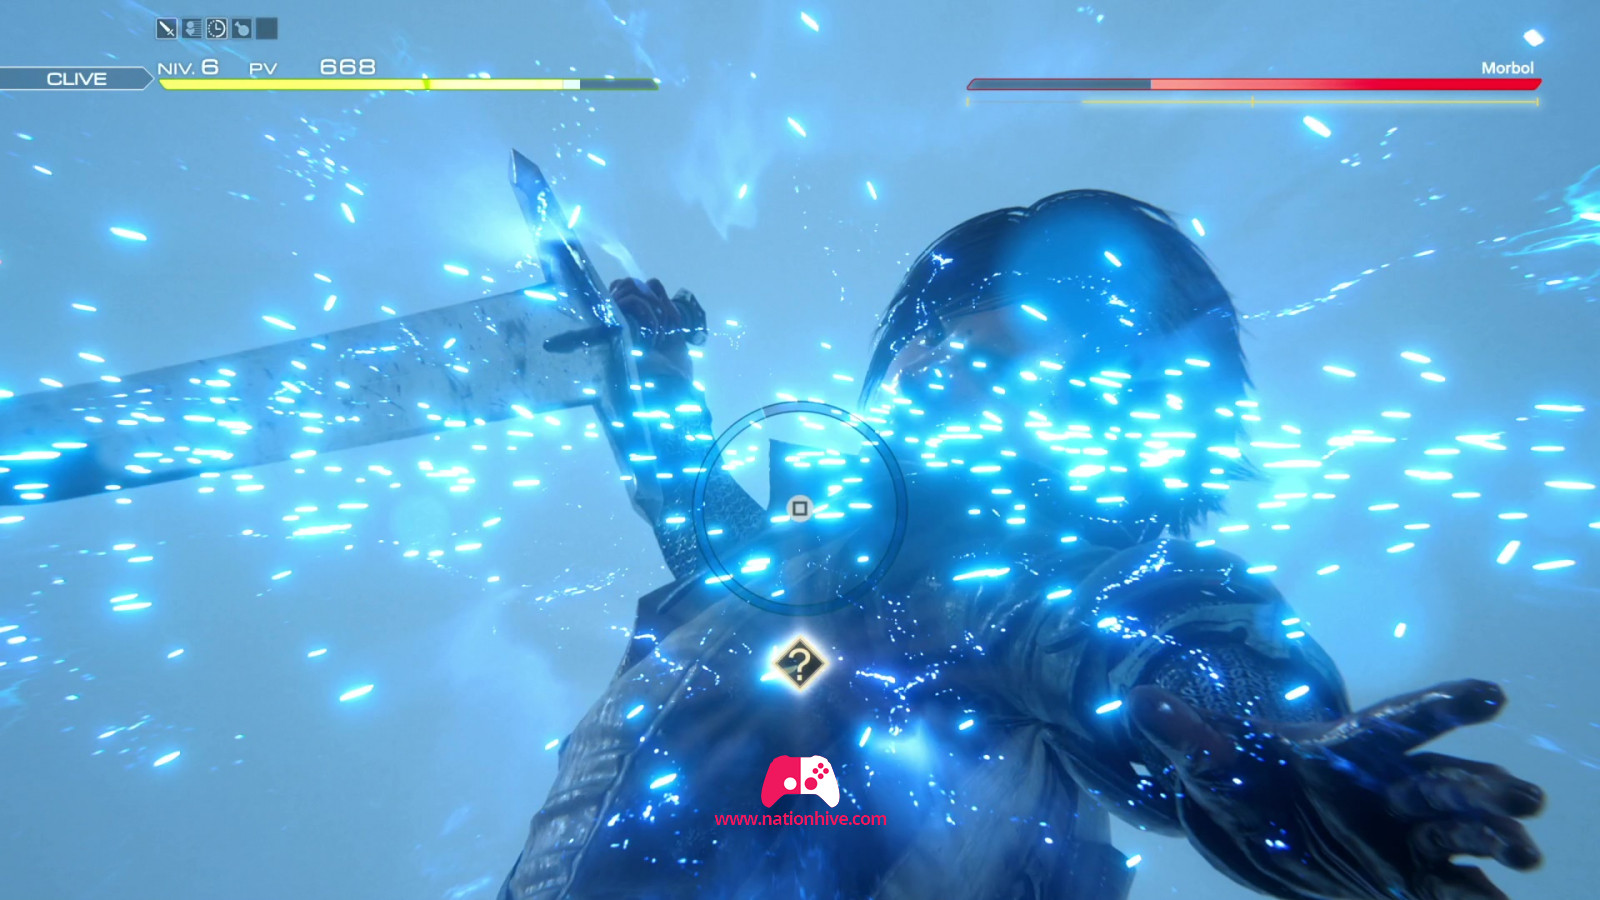
After a Partial Stagger, he dives into the water and grabs Clive. This triggers a Cinematic Strikes tutorial. Press the carré button before time runs out to inflict heavy damage on Morbol.
Be careful when Morbol recovers, as it throws poison gas as it rises. When Morbol swings its tentacles at you, a parry tutorial may appear. Press the carré button just as the enemy attacks to avoid his attack.
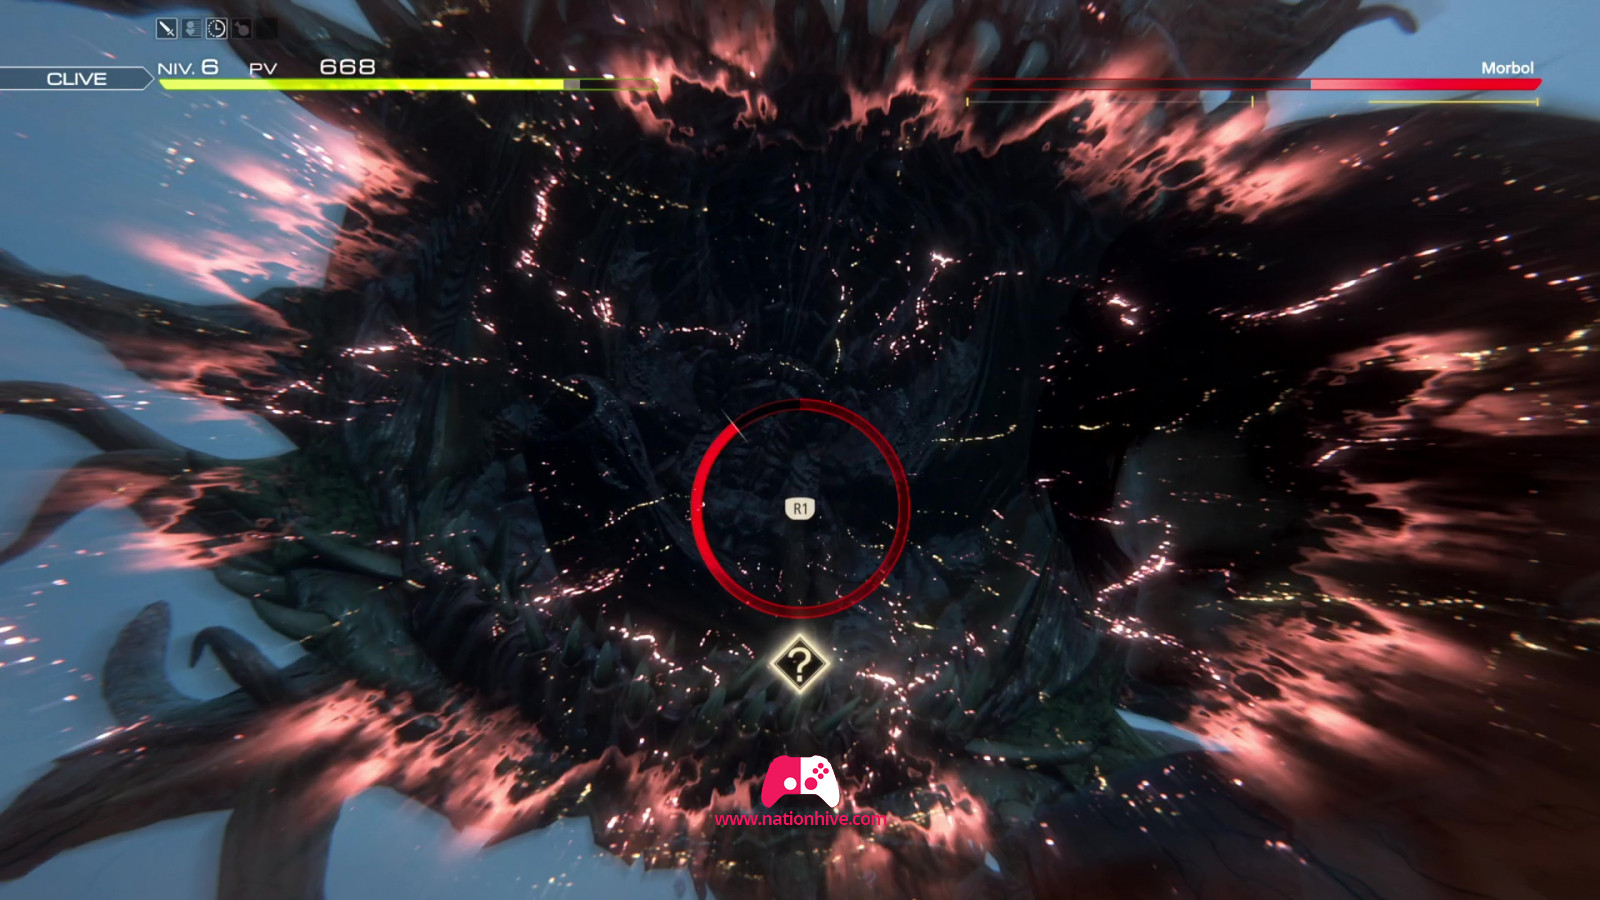
Morbol will dive underwater again and try to suck you in. This time, a tutorial explains Cinematic Evasion. You must press R1 to avoid taking heavy damage. If you succeed, the Morbol will be Staggered for another assault.
After the fight, you'll level up, but won't get any items. Once the cinematic is over, you'll return to the world map. Now head to Phoenix Gate to begin FF16's next quest: Flight of the Fledgling.