The Final Repository
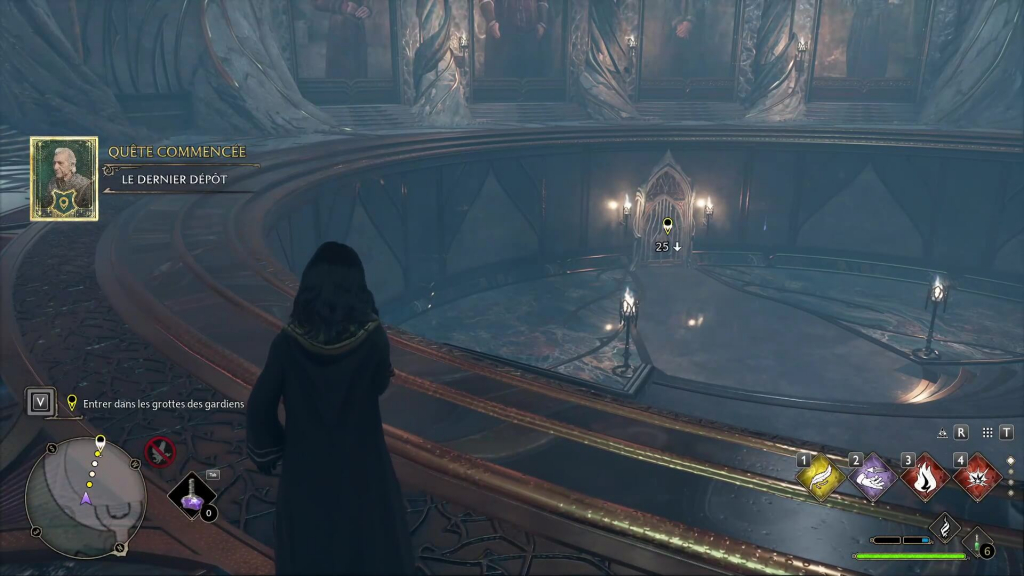
In this walkthrough for Hogwarts Legacy, we'll give you the complete tutorial for the main quest: The Final Repository.
Before you start the final quest, be sure to stock up on potions! Make as many Wiggenweld Potions as you can to prevent your life bar from depleting, so you can start again from the beginning of the final quest. Don't hesitate to concoct various potions that will give you the edge over the enemy.
Start of the final quest
Head to the Map Room to talk to Professor Fig, who will tell you that Victor Rookwood is dead and that you had to defend yourself against him.
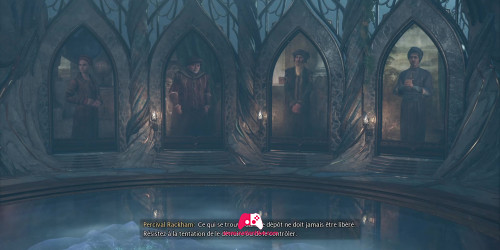
The guardians have decided to allow you access to the repository, since you have passed all their tests. They also ask you never to release anything from the repository, and to resist the temptation to destroy or control it.
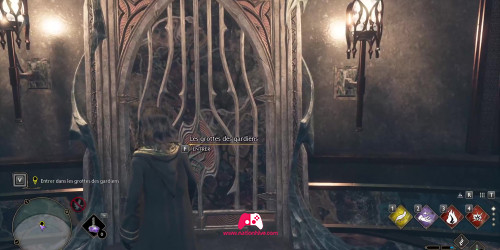
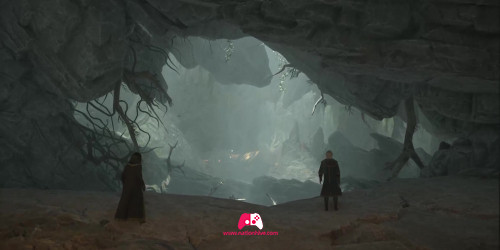
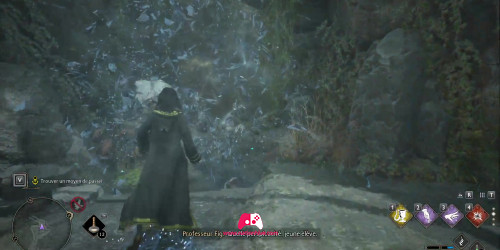
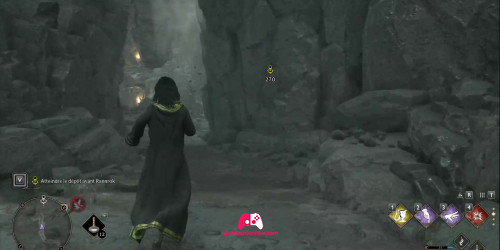
The floor suddenly dissipates to make way for a secret staircase that seems to lead to the depot. Using the wand fashioned by Ollivander, descend the stairs and enter the guardians' caves. Go straight ahead into the cave. As you enter, you'll realize that the goblins have arrived at the same time as you.
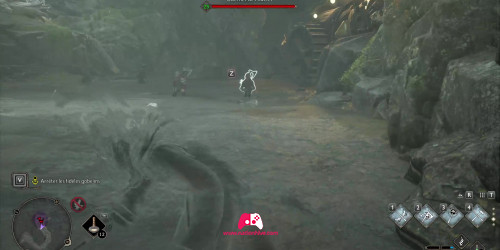
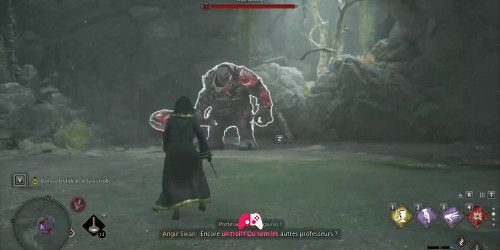
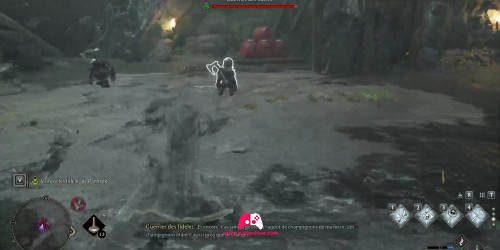
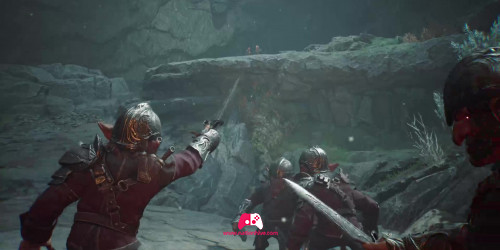
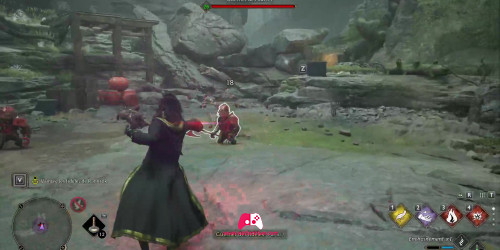
You'll have to make your way through the cave, attacking the various enemies that come your way. At some point, you'll come up against 2 fortified trolls and other enemies. Attack them all with your spells.
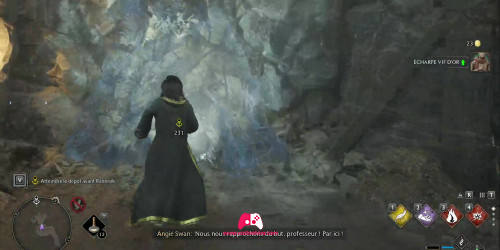
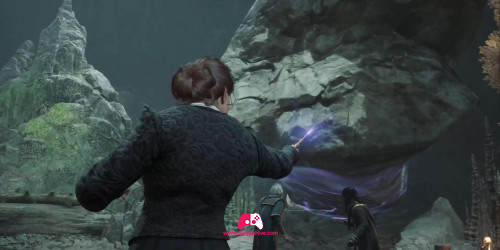
Once all the trolls and enemies have been eliminated, head for a wall behind you that looks a little clear and transparent. Professor Fig will make the wall disappear with a spell, allowing you to pass through.
In the next section of the cave, you'll have to defeat some Warriors of the Faithful. Once you've defeated all the enemies, head to the right-hand side where there's another wall that looks a little clear and transparent. Professor Fig will make the wall disappear with a spell, allowing you to progress.
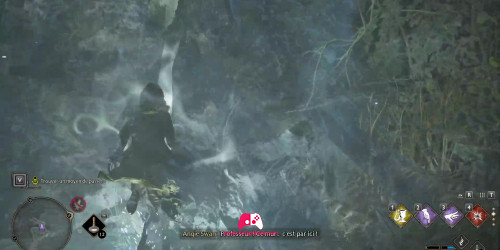
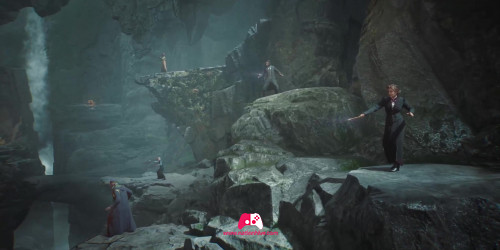
Just as you come up against several more enemies, the Hogwarts professors appear to come to your aid. They'll be in charge of distracting the enemies so you can get to the other side of the cave. Attack the enemies that appear in your path.
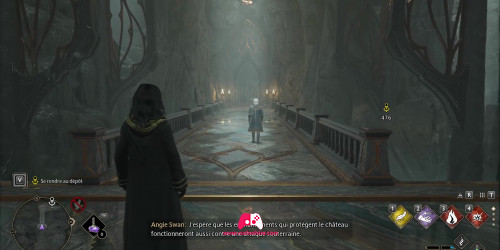
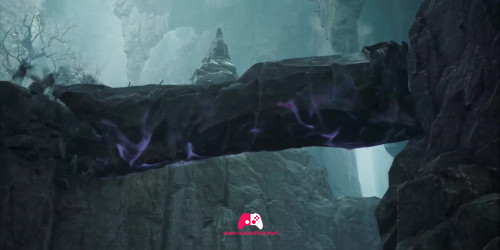
Once all the enemies have been defeated, a cinematic sequence will appear in which you cross the bridge created by a teacher to get to the depot.
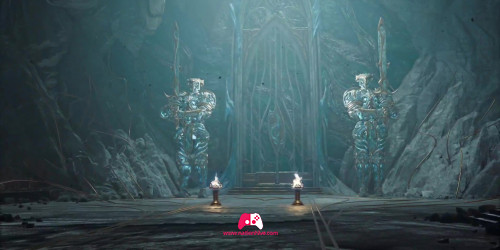
You'll suddenly come face to face with 2 Pensieve guards. Professor Fig will ask you to present the wand made by Ollivander so that the guards can let you through without complication.
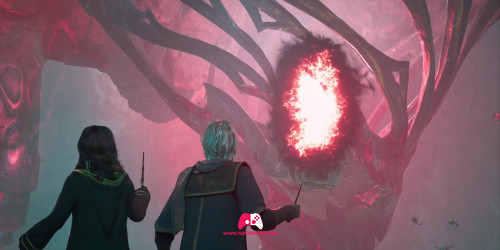
You're finally facing the warehouse. Professor Fig will ask you what you plan to do with it ?
Please note! The answer you choose (I intend to keep it here OR I intend to open it) may change the end of the story! The difference between the 2 endings isn't all that different. You'll still face the final boss, no matter what you decide. Simply choose the narrative you prefer.
Chosen answer: "I intend to keep it here".
In this scenario, Professor Fig will be delighted to hear your answer and will regret having kept this secret from the teachers until now. He will then ask you if you intend to keep this secret forever. Whatever your answer, Professor Fig will agree and do his utmost to help you in your mission.
Chosen answer: "I intend to open it".
In this scenario, Professor Fig will be shocked to hear you say this and will try to change your mind.
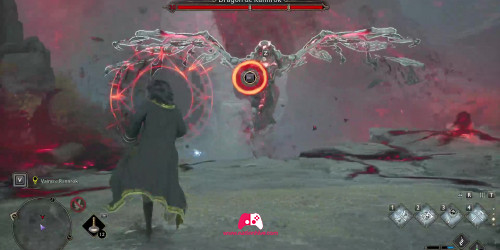
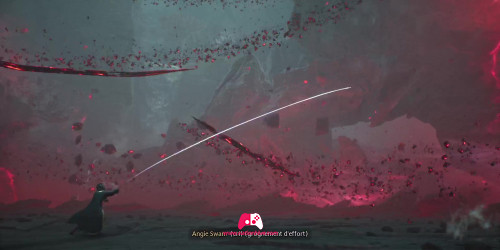
Regardless of your choice of answer, Ranrok will suddenly appear with Myriam's wand and cast a spell to take possession of the warehouse, releasing all the magic contained within. He will transform into a dragon, and your mission will be to defeat him.
Defeating Ranrok Phase 1
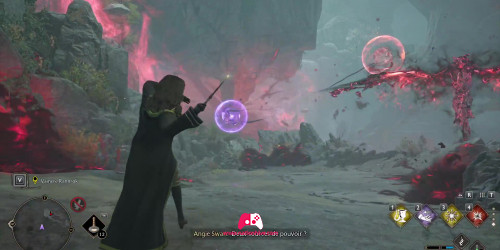
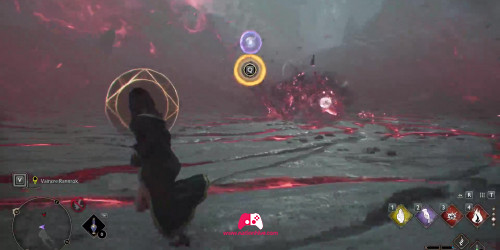
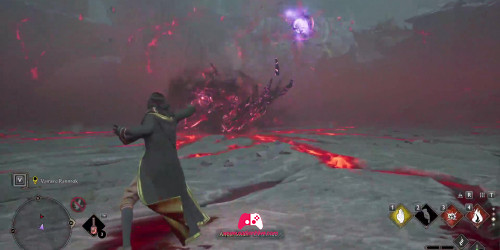
You will now have to defeat Ranrok in his dragon form, as he has absorbed all the magic in the depot. To inflict damage on him, you'll need to cast spells of the corresponding color on the colored floating bubbles that appear in front of you. At this point, he'll be a little more vulnerable to your attacks. Keep attacking until the first segment of Ranrok's life bar runs out. Be careful to avoid his fire attacks. Once you've completed the first part, Ranrok will destroy a wall, allowing you to move on to the next battle platform.
- It's important to note that sometimes the dragon will spit fire at you, sending a piece of rock flying! Use the corresponding button to throw the rock at it, inflicting damage!
Defeating Ranrok Phase 2
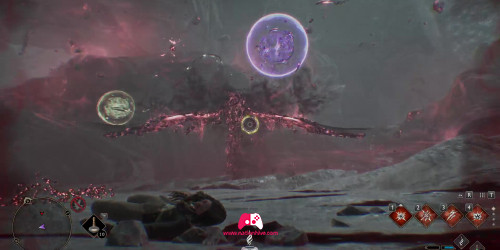
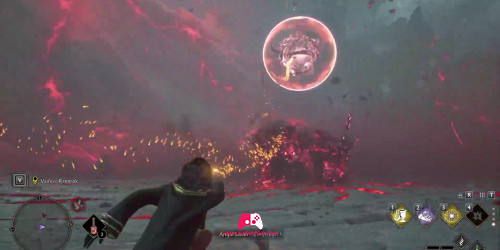
In Part 2, you'll have to repeat the same process. To inflict damage, you'll need to cast spells of the corresponding color on the colored floating bubbles that appear in front of you. This time, you'll need to hit 2 colored floating bubbles with your spells to make Ranrok a little more vulnerable to your attacks. Be careful to avoid his fire attacks. Keep attacking until the second segment of Ranrok's life bar becomes even emptier. Once the second part is complete, Ranrok will destroy a wall, allowing you to proceed to the third and final battle platform.
- It's important to note that sometimes the dragon will spit fire at you, sending a piece of rock flying! Use the corresponding button to throw the rock at it, inflicting damage!
Defeating Ranrok Phase 3
Once again, the same process. To inflict damage, you'll need to cast spells of the corresponding color on the colored floating bubbles that appear in front of you. This time, you'll need to hit 3 colored floating bubbles with your spells to make Ranrok a little more vulnerable to your attacks. Once again, be careful to avoid his fire attacks. It's important to know that the last phase is actually divided into 2 parts.
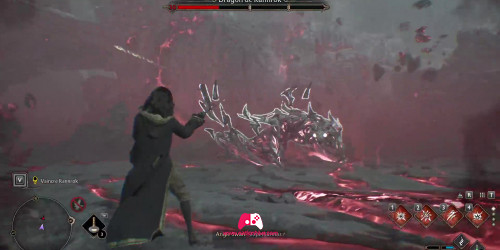
Once the first part of phase 3 has been completed, the dragon will be on the ground. You'll have to dodge his attacks as he rushes towards you. This time, you'll need to hit 4 colored floating bubbles with your spells to make Ranrok a little more vulnerable to your attacks. Fortunately, for this part only, you only need to hit 4 colored floating bubbles with your spells once for Ranrok to become vulnerable, compared to other phases where the bubbles appear throughout the fight!
- It's important to note that sometimes the dragon will spit fire at you, sending a piece of rock flying! Use the corresponding button to throw the rock at it, inflicting damage!
Defeat Ranrok final phase
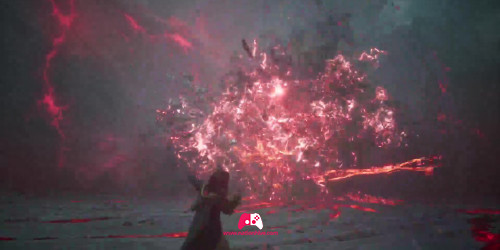
Once the dragon's life bar is empty, you'll need to hit the last 3 coloured floating bubbles with your spells to defeat Ranrok once and for all!
Combat can be long and arduous. That's why equipping yourself with Wiggenweld potions can be very advantageous for you! It will also allow you to die and start the final quest from the beginning.
- Tips and Tricks: If you're short of Wiggenweld potions, you can pick up 2 on the ground during the final phase against Ranrok!
Once Ranrok has been defeated (chosen answer: "I intend to keep him here")
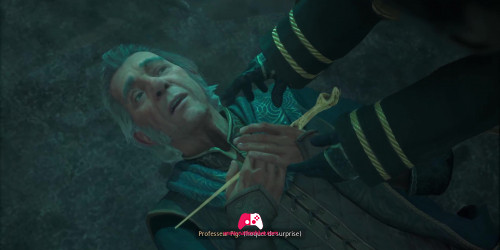
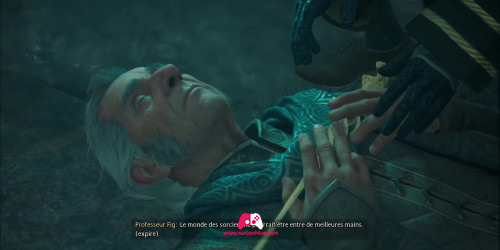
Once Ranrok has been defeated, you try to contain the dark magic with the guardians' wand. Professor Fig appears at your side to help you. However, he will be wounded and die as a result.
Once Ranrok has been defeated (chosen answer: "I intend to open it")
Once Ranrok has been defeated, you use the guardians' wand to absorb the dark magic within you. You'll end up with red eyes, signifying your newfound power. You can now control dark magic as you see fit.
Farewell Professor Fig
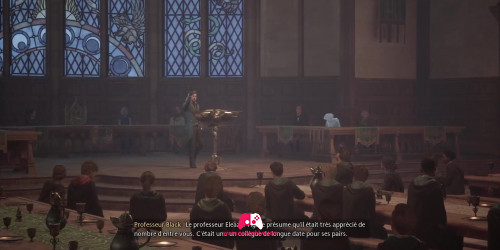
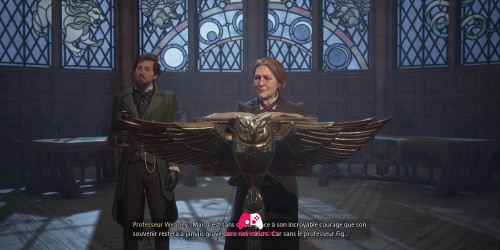
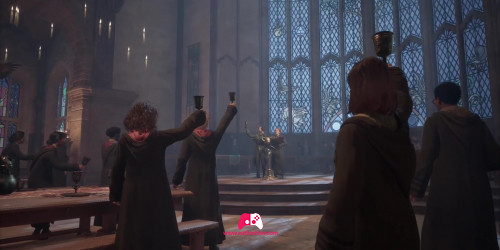
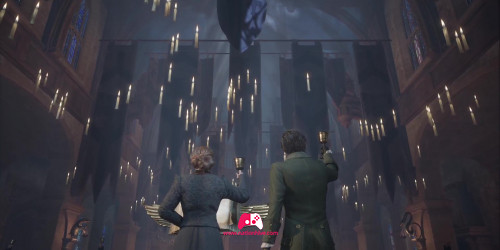
Whatever your choice of narrative, a cinematic will appear in which all the members of Hogwarts are gathered in the Great Hall to pay tribute to Professor Fig. After a speech by Professor Black and Professor Weasley, everyone raises a glass in honor of Professor Fig. Another cinematic follows in which you chat with Sebastian.
Spring has finally arrived at Hogwarts. All that remains is to complete your exams and your Wizard's Field Guide. And so the quest: The Final Repository comes to an end, making way for your next main quest in Hogwarts Legacy: Weasley's Watchful Eye.
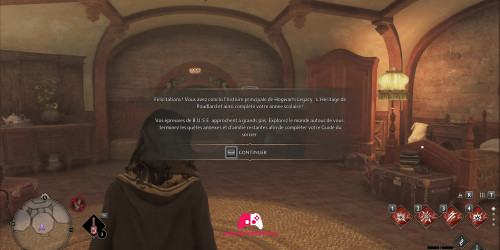
Vous recevrez également un message qui vous félicite d’avoir conclu l’histoire principale du Hogwarts Legacy : L'Héritage de Poudlard. Vous pouvez tout de même explorer le monde, terminer les quêtes annexes et d’amitié restantes pour compléter votre Guide du sorcier. Félicitations!
