Crisis at Hyrule Castle - Part 1

In this walkthrough for The Legend of Zelda: Tears of the Kingdom, we'll give you the complete tutorial for the main quest: Crisis at Hyrule Castle - Part 1.
Once you're out of the Lookout Standing, head for Hyrule Castle, floating in the air. Along the way, pick up any weapons or resources you can find on the ground.
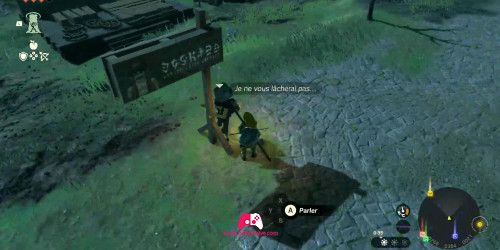
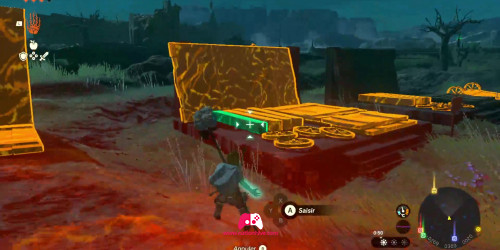
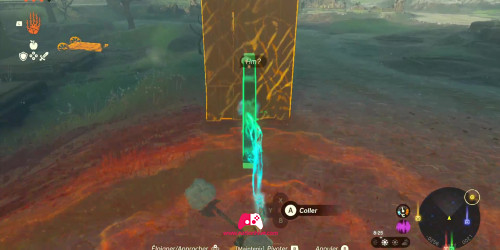
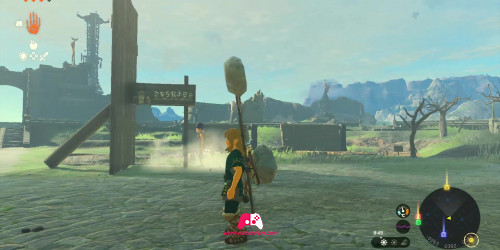
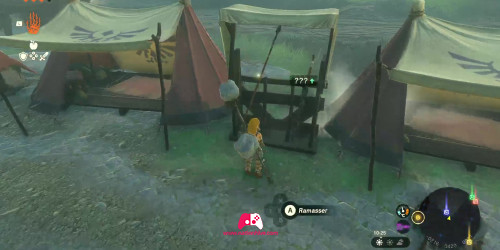
Then head towards a figure who appears to be holding a Hudson Construction Company sign. His name is Addison and he seems to be putting up Hudson Construction Company signs all over the kingdom to promote his boss's company. However, he needs help to make his sign stand on its own. Simply use your Ultrahand ability on the materials behind to make the sign stand up (see image below). Once the Hudson Construction Company sign stands on its own, Addison will thank you by giving you 20 Rupees, a plate of Herb Dumplings and a Voucher for a free night's sleep (this voucher will allow you to take advantage of a normal bed in a relay to rest during your journey).
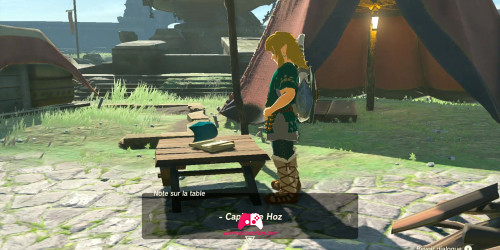
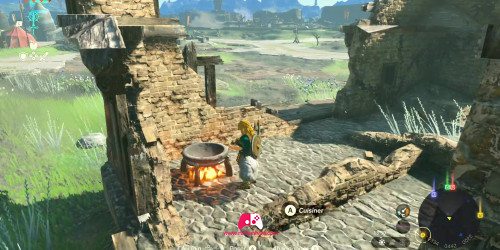
Near Addison, you'll find a camp, stock up on weapons and explore. You'll come across a note from Hoz on a small table telling you to equip yourself well before progressing, as there are plenty of monsters around. Explore the ruins too, and you'll find a cooking pot where you can stock up on food and get ready for battle.
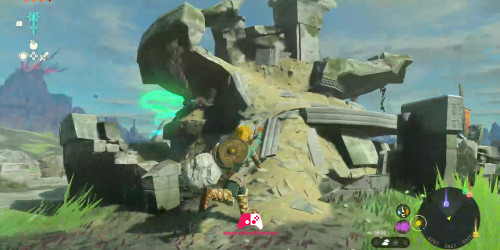
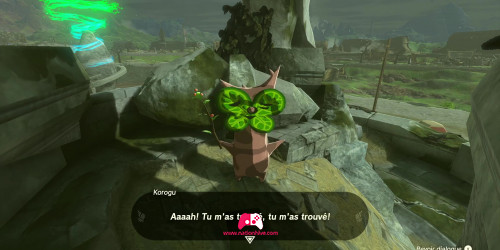
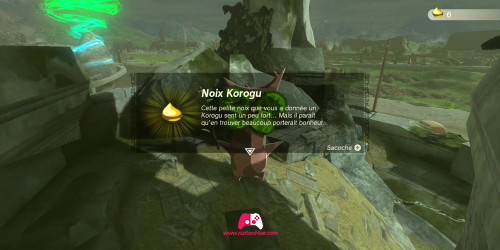
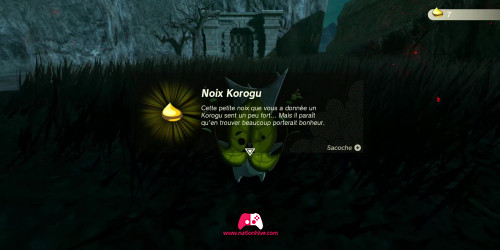
You can also find a Korok at the top of the fountain ruins in the middle of the Ruins, climb to the top and lift the rock. You'll receive 1 Korok Seed.
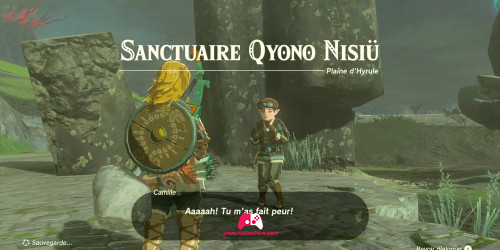
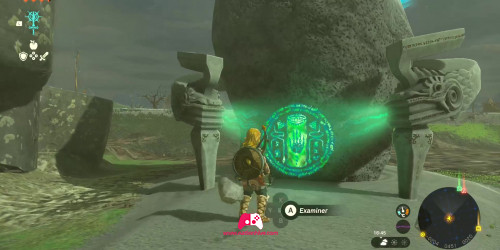
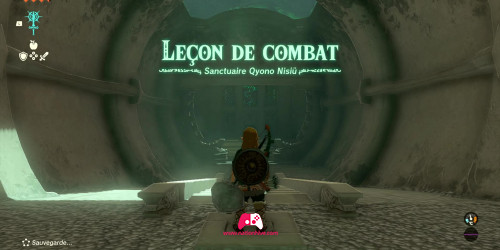
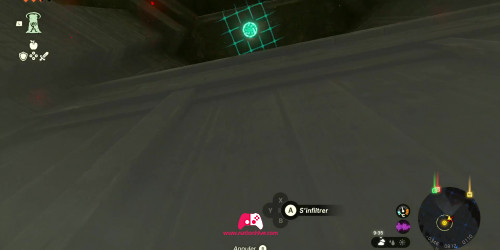
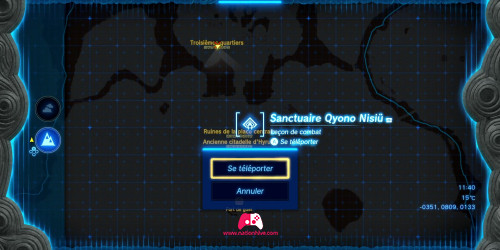
Don't forget to enter the Kyononis Schrine, so you'll be able to teleport there the next time you need to return to Hyrule Castle. Use A to examine the green circle in front of you.
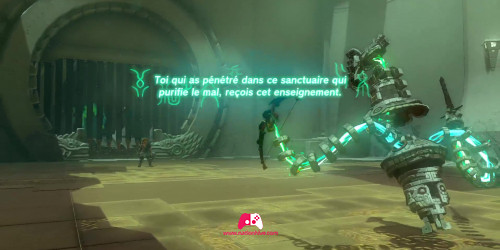
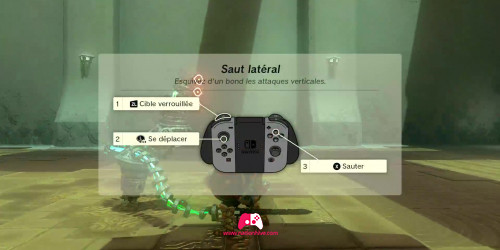
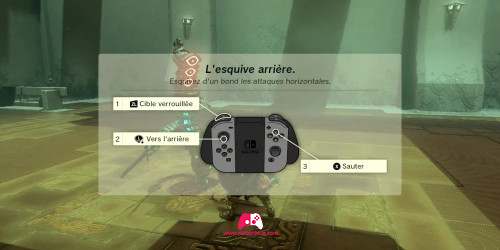
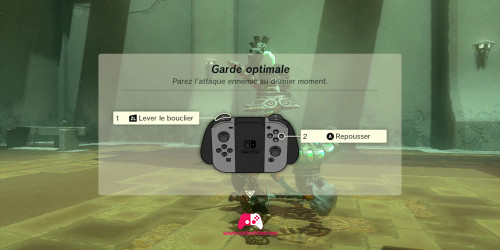
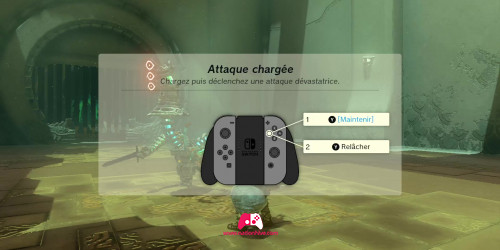
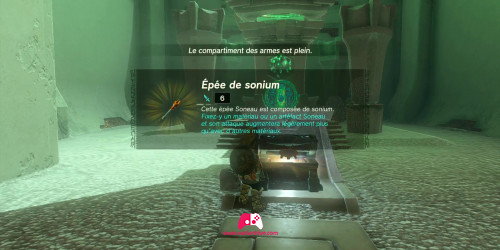
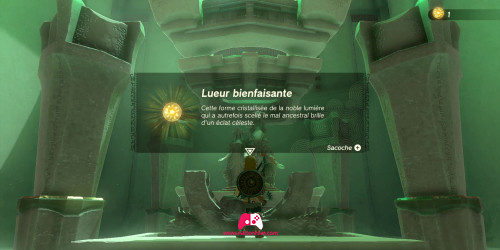
Follow the combat tutorial to learn lateral jumping, backward dodging, optimal guarding and charged attacks. At the end of the tutorial, you'll receive a Zonai Orb, a Sonium Sword and a Light of Blessing. Try to complete as many Shrines as possible to receive all the Light of Blessing and thus accumulate more Heart Receptacles.
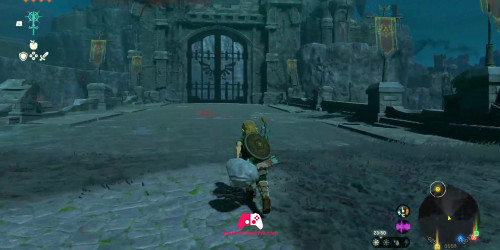
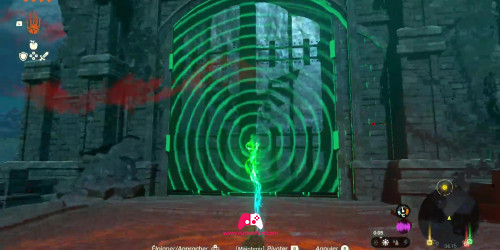
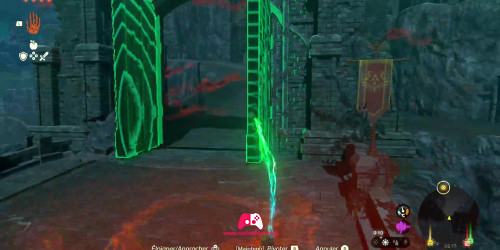
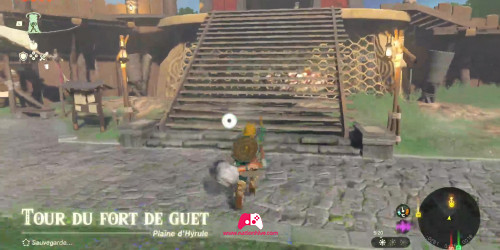
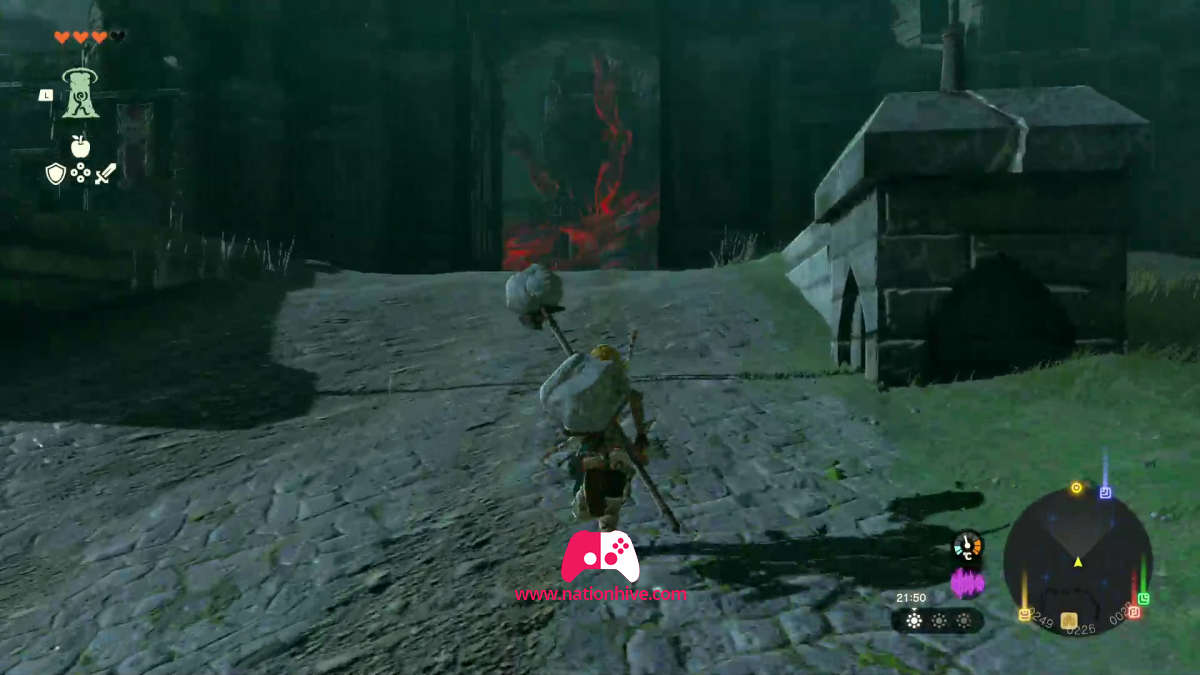
Continue on your way to Hyrule Castle, talking to the guards who will tell you to find Captain Hoz in the Third Ward. To open the main gate of Hyrule Castle, simply use your Ultrahand ability.
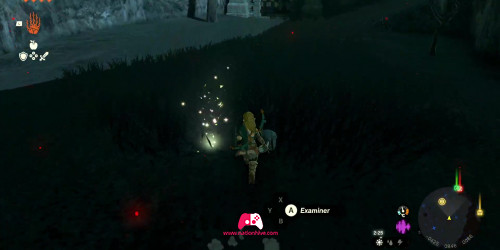
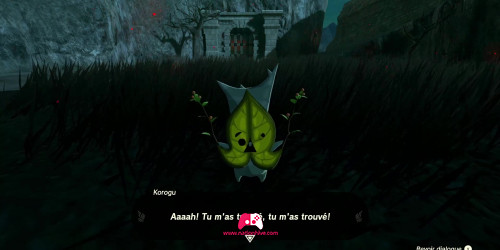
At a certain point, you'll find a patch of grass, approach it and examine the twinkling light to find a Korok who will offer you 1 Korok Seed.
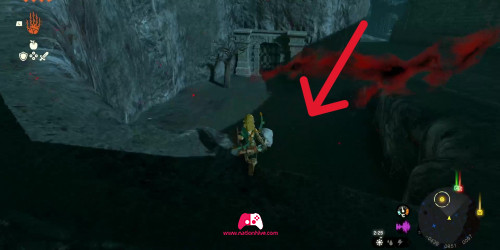
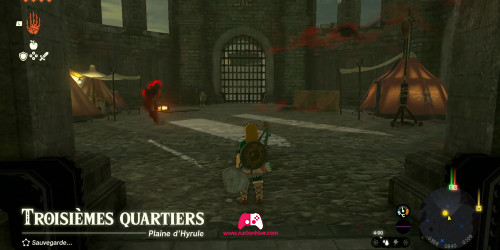
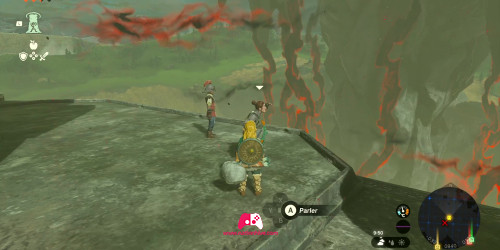
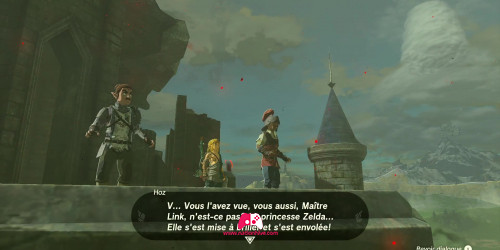
Continue on to the third quarters. To find Captain Hoz, use your Ascend ability to climb up to the upper balcony, where a man wearing a soldier's helmet is supervising the search.
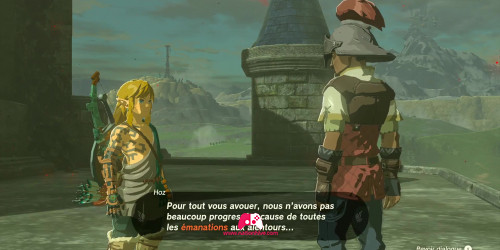
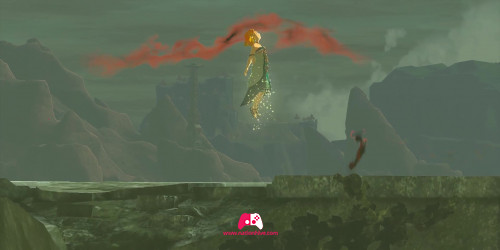
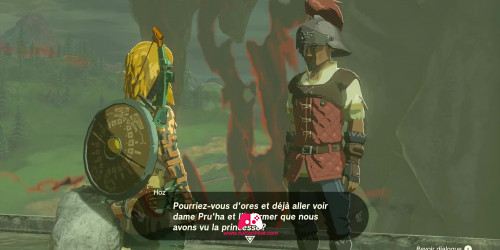
Talk to Captain Hoz, and suddenly a cinematic appears in which you see Princess Zelda in the distance, suddenly disappearing. Captain Hoz will ask you to return to the Lookout Standing to share what you've just seen in Pru'ha.
Head for the Lookout Standing, we recommend you teleport to the Kyononis Shrine as it's close to the Lookout Standing and speak with Pru'ha.
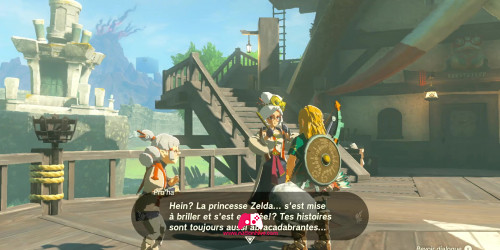
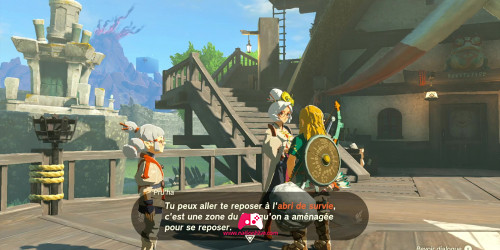
After telling her about all the events that have taken place, she'll upgrade your Purah Tablet and ask you to help her fill it with new map data of recent events. Purah has been hard at work building new reconnaissance Towers to help you with this mission, but before you can begin, you'll first be asked to rest at the Emergency Shelter.
- Note that there is a statue of the goddess in the Emergency Shelter, where you can exchange 4 Light of Blessing for 1 heart receptacle.
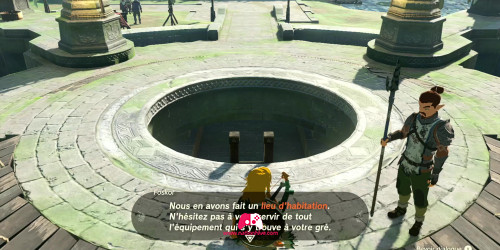
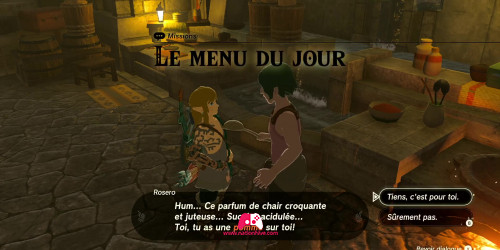
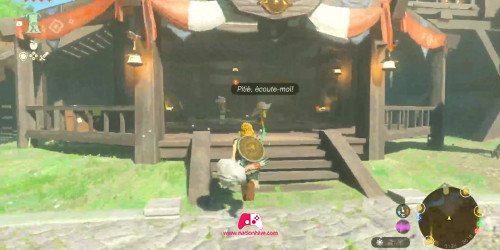
Talk to the soldier guarding the Emergency Shelter, mentioned by Pru'ha, and head downstairs. Talk to people and stock up on weapons if you need to. What's more, you can also unlock the Today's Menu side quest. All you have to do is give the cook an apple. As a thank you, she'll offer you a mushroom dish.
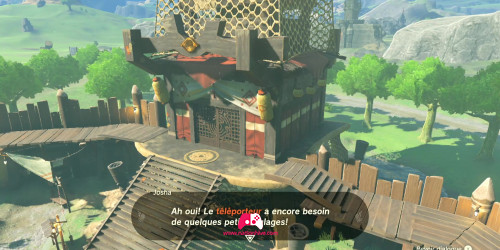
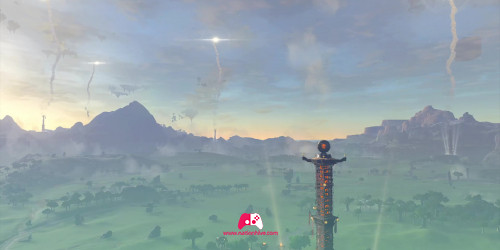
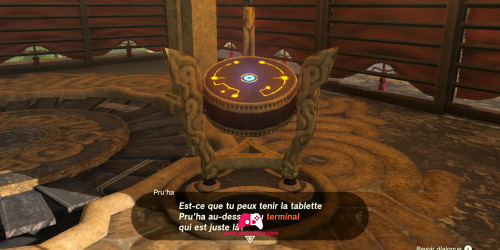
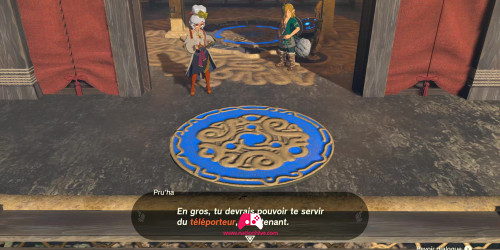
Once you've rested, meet up with Pru'ha in Hyrule's Tower. She'll tell you that the fast travel point is now ready. A cinematic sequence appears, in which she activates the fast travel points to operate the various reconnaissance towers scattered around the kingdom. She will then ask you to bring your Purah Pad's to a terminal in order to register the Tower in your tablet. Each time the tablet registers a tower, you'll need to be able to use the fast travel point to get around the kingdom.
- Feel free to explore the surrounding area, including the Purah room, to find notes and learn more about strange phenomena.
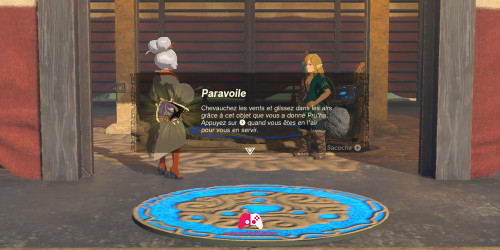
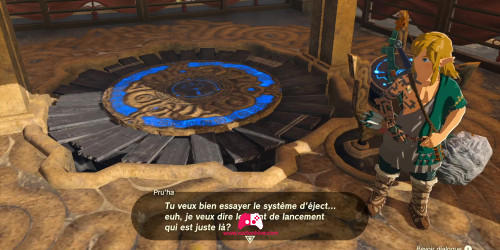
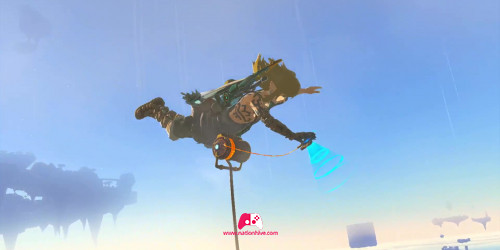
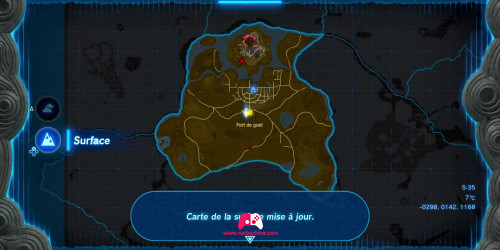
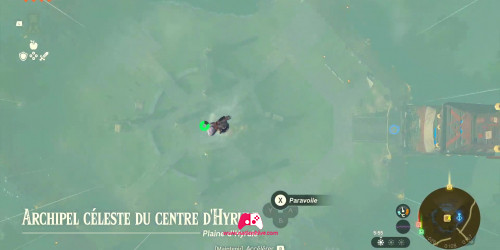
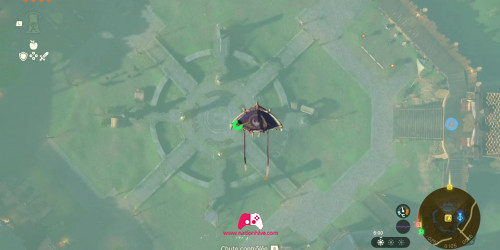
Pru'ha will also introduce you to the Paraglider, which you'll receive from him. The Paraglider will enable you to ride the winds and glide through the air, so press X when you're in the air to use it. It will then ask you to position yourself in the launch point so as to be projected into the Great Sky Islands and collect topographical data. You'll see new data appear on the map in your Purah Pad's.
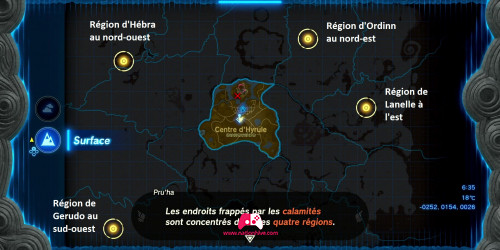
Go down using the Paraglider and talk to Pru'ha. She'll tell you that every region in the world has its own Tower. Visit them so that you can record them all in your tablet, making it easier for you to travel throughout the kingdom. She also mentions the places hit by calamities, which are concentrated in the Hebra Region to the north-west, Ordinn to the north-east, Gerudo to the south-west and Lanelle to the east. According to Pru'ha, you'll need to visit all of them to find clues to Zelda's whereabouts.
To progress in the main story, you must first investigate the calamities. Head first for Rito Village, in the north-western Hebra Region, as recommended by Purah.
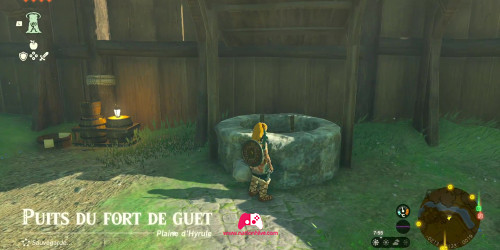
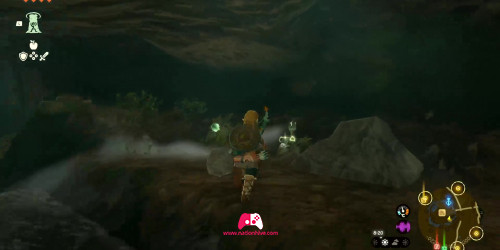
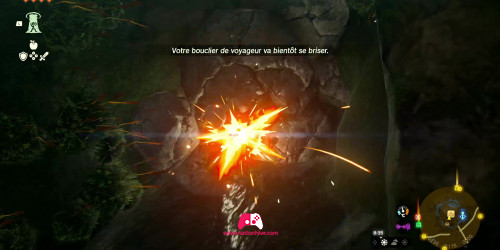
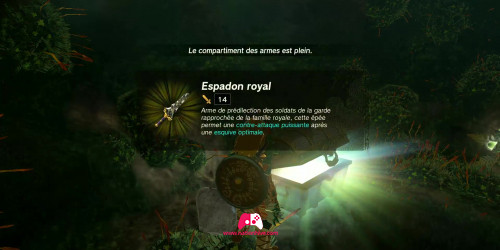
However, before heading for Rito Village, in the Hebra Region to the north-west, explore the area around Lookout Standing. Indeed, it's possible to find the Lookout Standing Well nearby and enter it. You'll find resources and a chest hidden behind a pile of stones. Open it to receive a Royal Claymore. To get out of the well, simply use your Ascend ability.
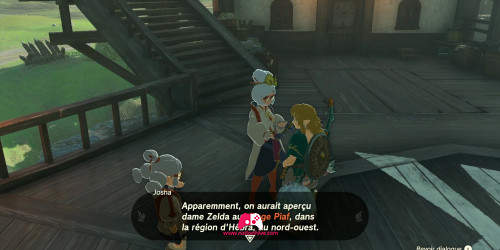
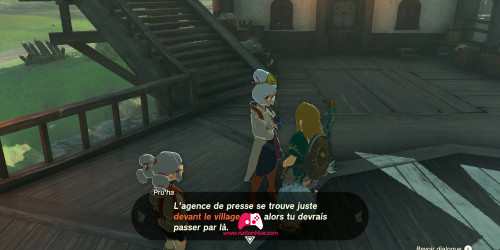
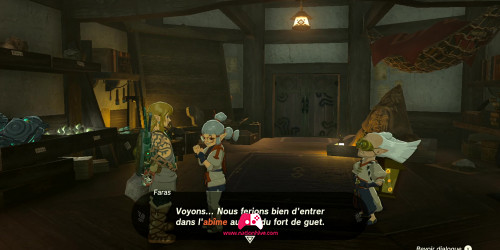
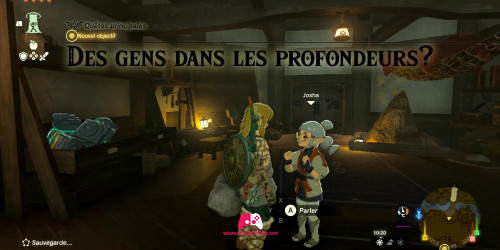
We also recommend that you start the main quest: Camera Work in the Depths? before heading to Rito Village, as the quest is unlocked there by talking to Josha and Robbie. Completing this quest will unlock the Purah Pad's camera feature and the encyclopedia in the Purah Pad's, which will be extremely useful for the rest of the quests.
And so the main quest: Crisis at Hyrule Castle - Part 1 comes to an end, making way for your next main quest in Zelda: Tears of the Kingdom - Camera Work in the Depths?.
